This article will help you add and use a custom input mask in a short text field, explaining what each mask character means and showing practical examples of expected formats.
Adding a custom mask to a short text field
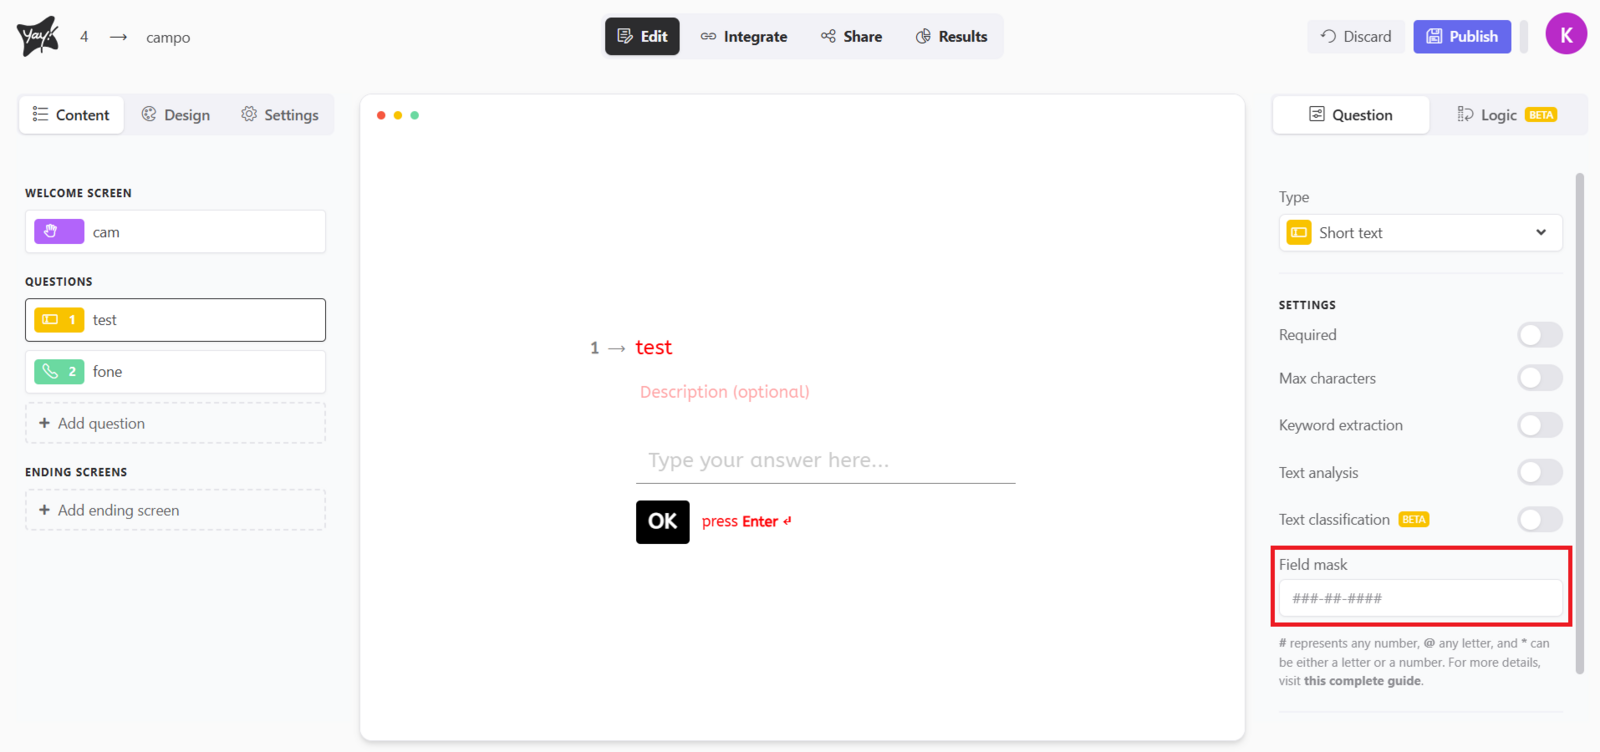
To add a custom mask to your short text field, simply go to the settings panel on the right side of your field and enter the desired mask in the Field mask field as shown below.
How the mask works
The mask helps format form responses in a customized way. Here’s how it works:
- #: Allows entering any number.
- @: Allows entering any letter.
- *****: Allows entering any number or letter.
In addition, any other character you add to the mask will be fixed. That is, it will appear exactly as you typed it.
Example
Example:
If the mask is ##-123-@@-*, the expected format will be:
- Two numbers in a row (
##) - The number "123" (fixed)
- Two letters in a row (
@@) - One number or letter (
*)
So, the answer could be something like: 45-123-AB-X.
More mask examples
Here are some possible mask examples:
CPF - ###.###.###-##
CNPJ - ##.###.###/####-##
RG - ##.###.###-*
CEP - #####-###
Conclusion
You learned how to apply a custom mask to a short text field, what each mask symbol represents, how fixed characters behave, and how to interpret the expected input format through common examples.