This article will help you integrate a webhook in Yay! Forms to send data whenever someone submits a form. It also explains available security options, how to enable/disable and test your webhook, advanced webhook behaviors, and the differences between webhook versions V1 and V2.
Accessing the Webhooks Integration
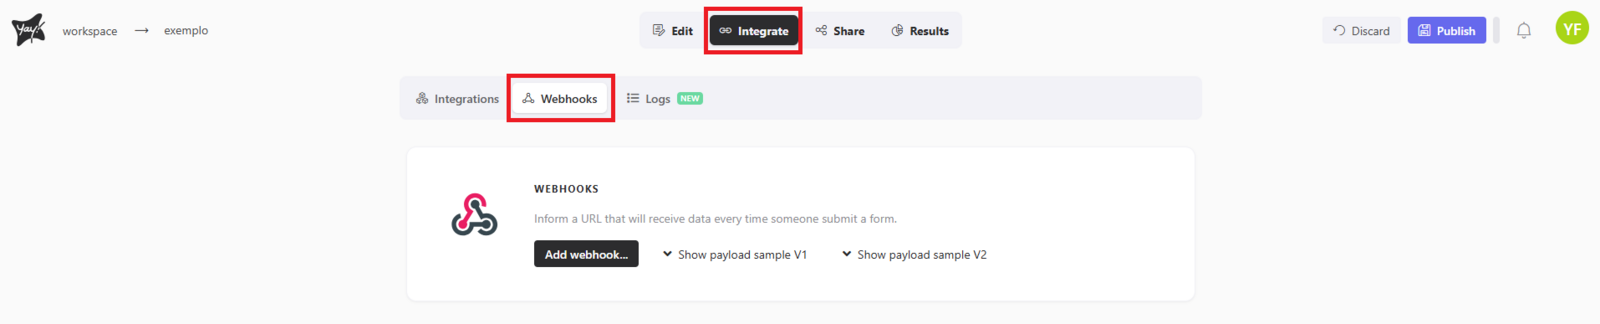
To integrate a webhook that sends data when someone submits a form, click Integrate, then Webhooks.
Adding and Configuring a Webhook
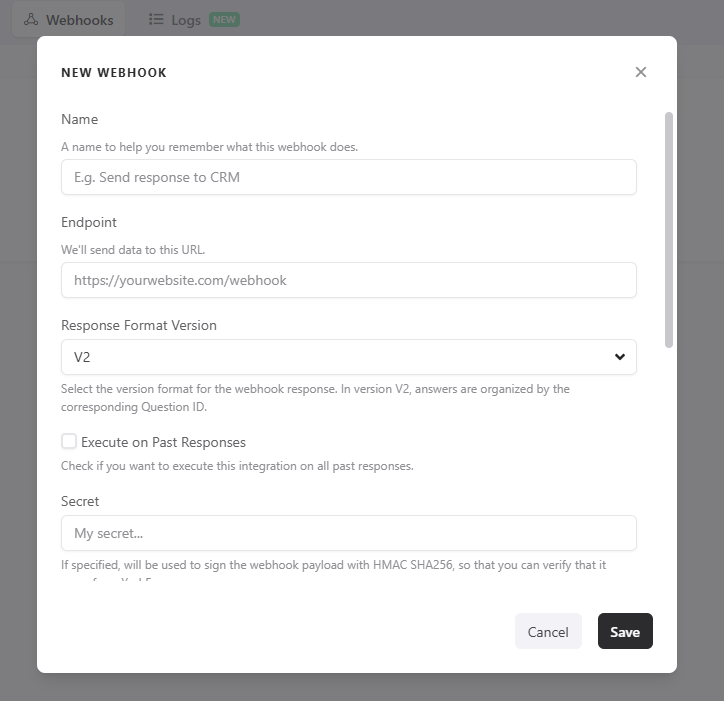
Clicking Add webhook will open the screen where you can configure your new webhook.
Webhook Security Features
Yay! Forms also offers security features to improve the integrity and reliability of webhook integrations. They are:
- Secret for Payload Signature: You can now specify a "Secret" that will be used to sign the webhook payload with HMAC SHA256. This allows you to verify that the payload actually came from Yay! Forms, ensuring the authenticity of the received data.
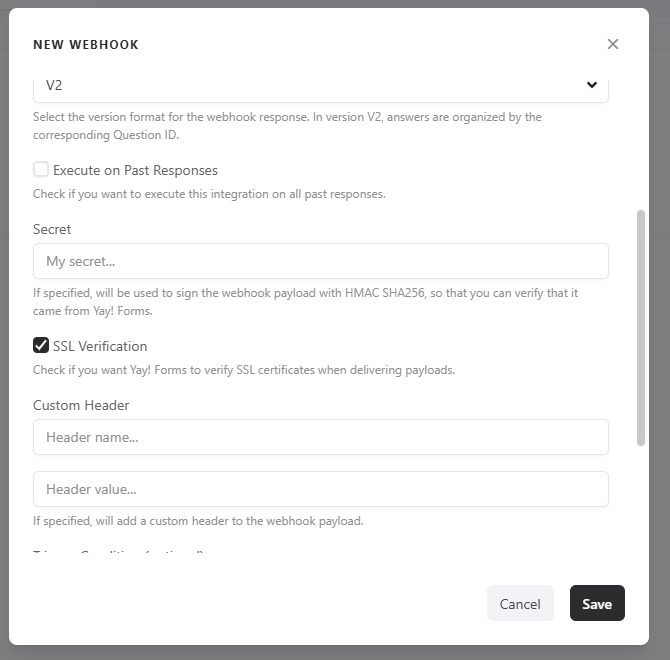
- SSL Verification: We added an SSL verification option for payload deliveries. When you check the "Verify SSL" option, Yay! Forms will verify SSL certificates when delivering payloads, providing an additional layer of security for communication.
- Custom Header: For greater flexibility, you can now add a "Custom Header" to the webhook payload. Just specify the desired custom header and it will be added to the sent payload.
These features improve the user experience and ensure the security of webhooks in Yay! Forms. To use these options, access the webhook edit screen:
Managing Your Webhook (Enable, Disable, Adjust, Test)
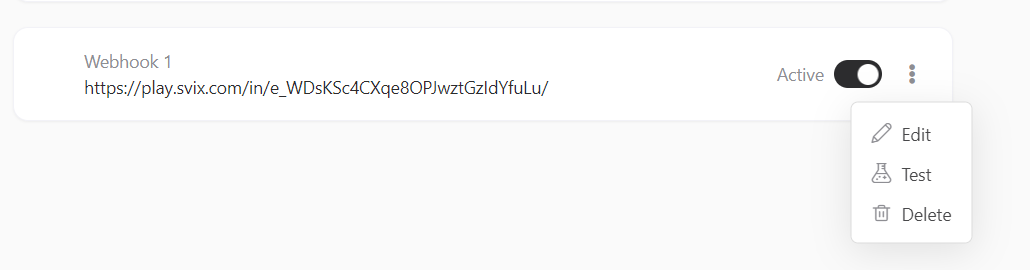
After configuring your webhook, you can easily enable or disable it by clicking the button below. In addition, you can adjust the settings or test it by clicking the three dots and then clicking test.
Advanced Features
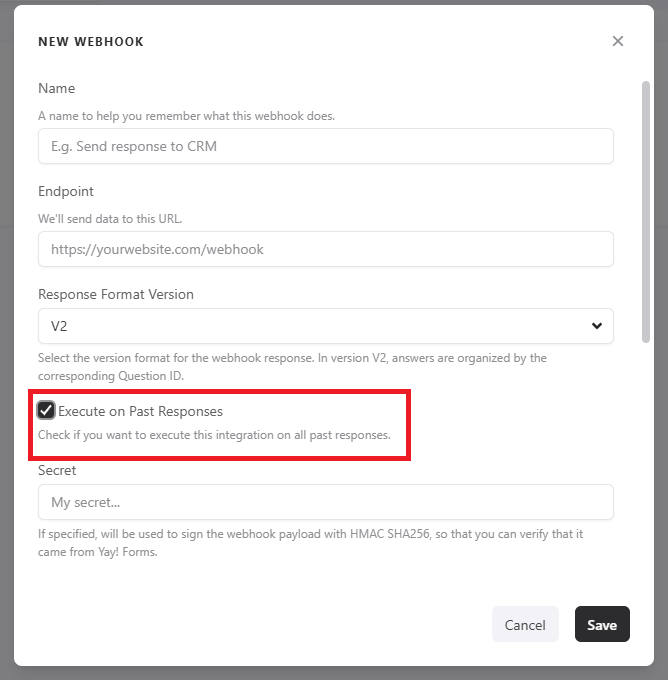
1. Optional Execution of Past Webhooks
This advanced option allows users to choose whether or not to trigger webhooks for past form submissions. To do this, simply enable the Run on previous responses option as shown in the image below:
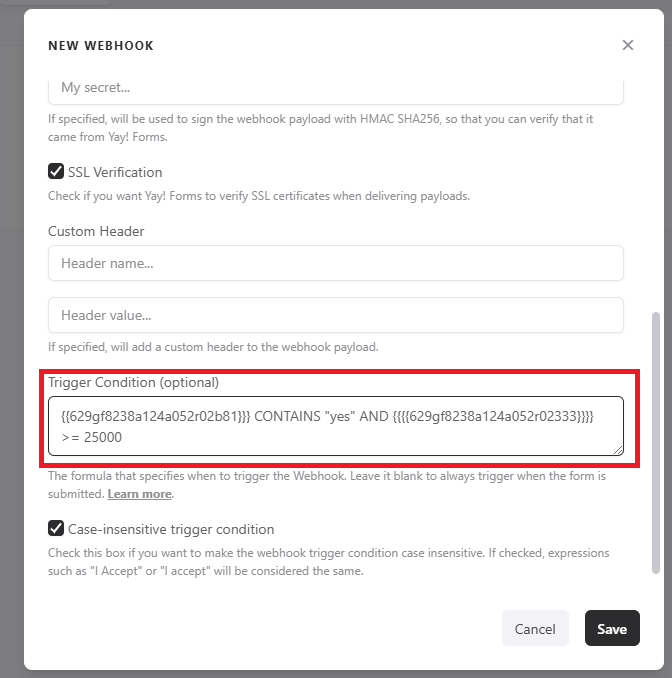
2. Conditional Sending Based on Answers
This feature allows webhooks to be triggered based on users' answers, ensuring smarter and more effective integrations. To do this, simply scroll until you find the Trigger condition section as shown in the image below:
If you are interested in understanding better how our conditional system works, you can access our help article: Como Criar Expressões para Execução Condicional de Integrações.
It is worth remembering that, by default, the conditional field is case-sensitive. That is, if the user answers sim and you entered Sim, it will not send the form data. If you want it to be case-insensitive, you can enable the Case-insensitive trigger condition option, which is located below the trigger condition.
Understanding Webhook Versions (V1 and V2)
Yay! Forms offers two webhook formats (V1 and V2), each with different structures to meet specific needs. See the differences:
Webhook V1
Answers are sent in an array of objects, where each object represents an individual answer. Simplified example:
"answers": [
    { "id": "65d4e7414e5adf68470edb9e", "content": "..." },
    { "id": "6273f707c63e7adf3c0203e3", "content": "..." }
]
Webhook V2
Answers are organized in an object with unique keys (answer IDs). Simplified example:
"answers": {
    "65d4e7414e5adf68470edb9e": { "content": "..." },
    "6273f707c63e7adf3c0203e3": { "content": "..." }
}
Included details:
With V2, you can use the field ID as the field’s identification key, which helps with how you map fields.
Important Notes
- Fill Out the Form: For the test to be sent correctly, the form must have at least one valid answer filled out.
- Data Sending: The test will send the data from the last valid answer filled out.
- Delivery Status: Please note that the test does not mark the response as sent in the integration being tested. This is only a procedure to verify the integration.
Support
If you have any questions or suggestions, send an email to [email protected].
Conclusion
You learned where to find webhook integrations in Yay! Forms, how to add and manage a webhook, which security features are available, what advanced options can change webhook execution behavior, and how V1 and V2 differ in the way they structure answers.