This article will help you integrate Yay! Forms with Clint using webhooks, including how to create and connect the webhook, map form fields correctly, and validate the integration with a test submission.
Access Clint and create a webhook
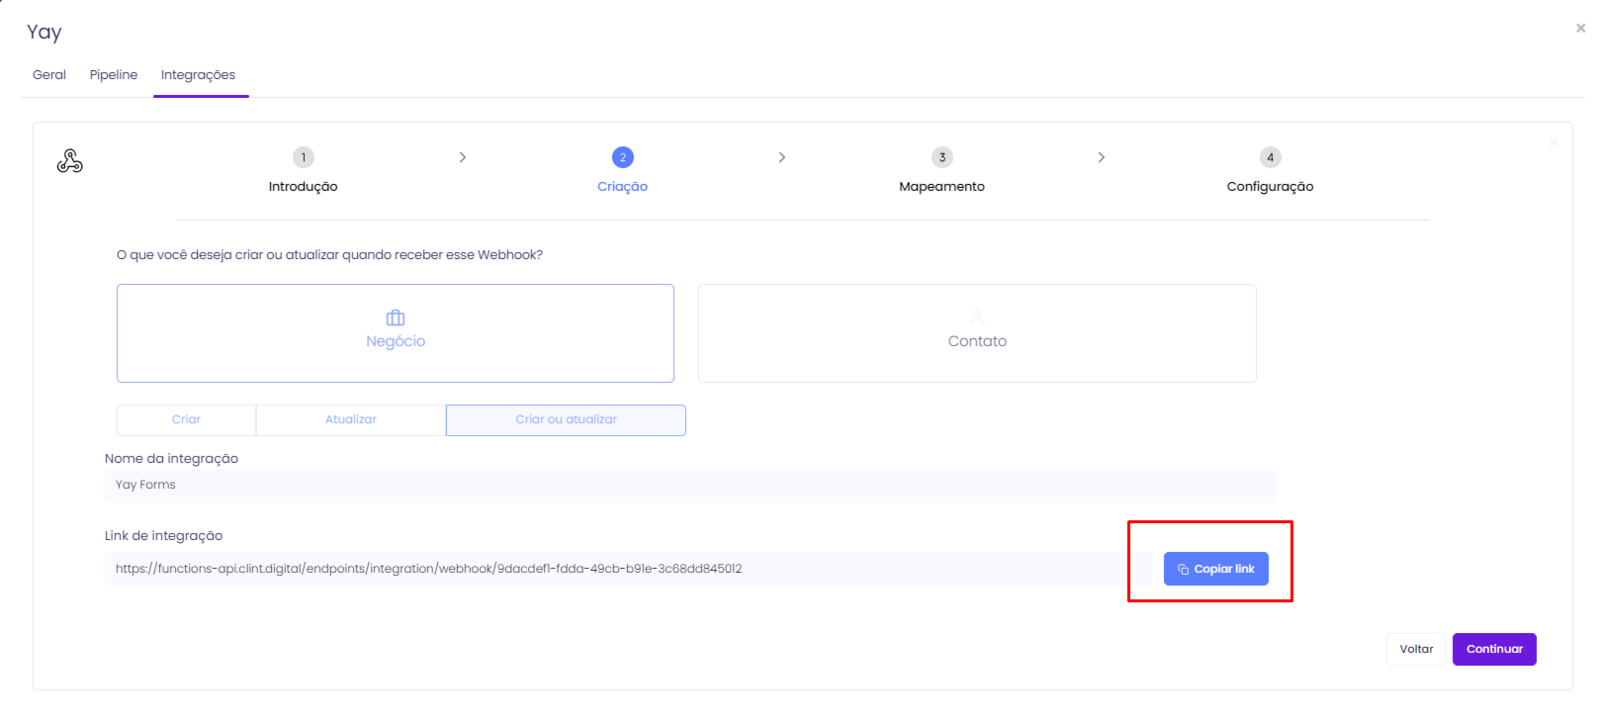
First, access your account at Clint, in the source you want, and then create a webhook. After that, copy the link to paste into the Yay! Forms platform.
Add the webhook in Yay! Forms
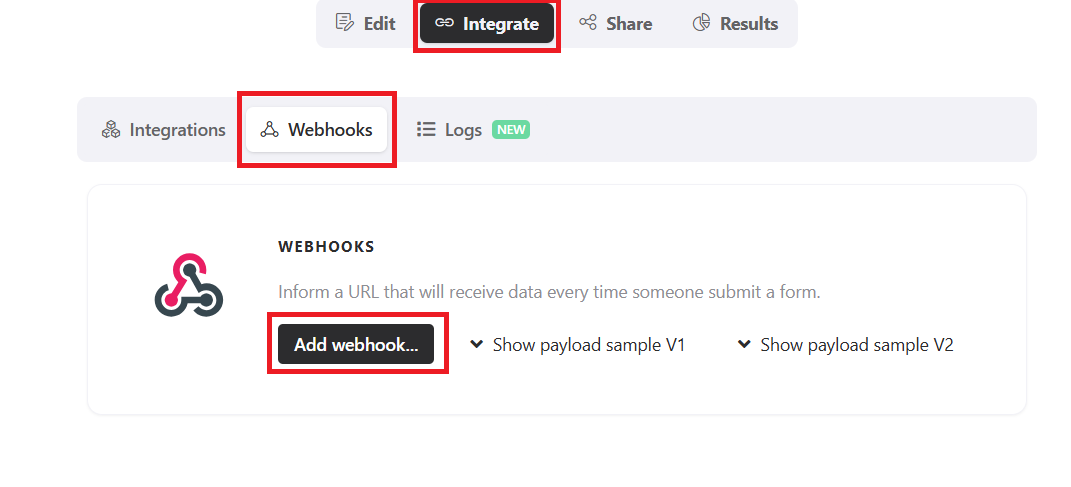
Next, log in to your Yay! Forms account, choose your form, and click Integrate, Webhooks, and Add Webhook as shown below**.**
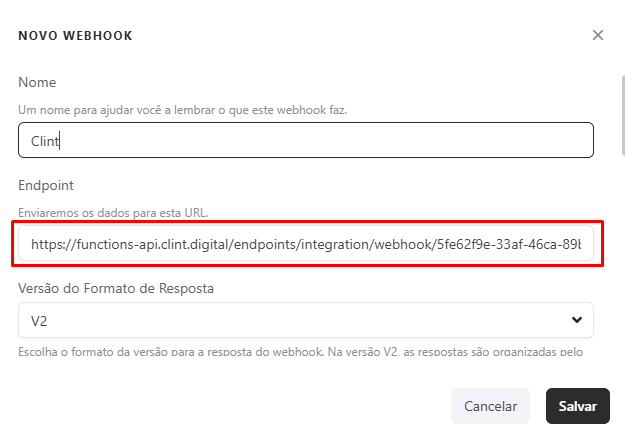
Copy the webhook provided by the platform and paste it into Yay! Forms. If you need more information about the webhook, see our support article by clicking aqui.
Map fields in Clint
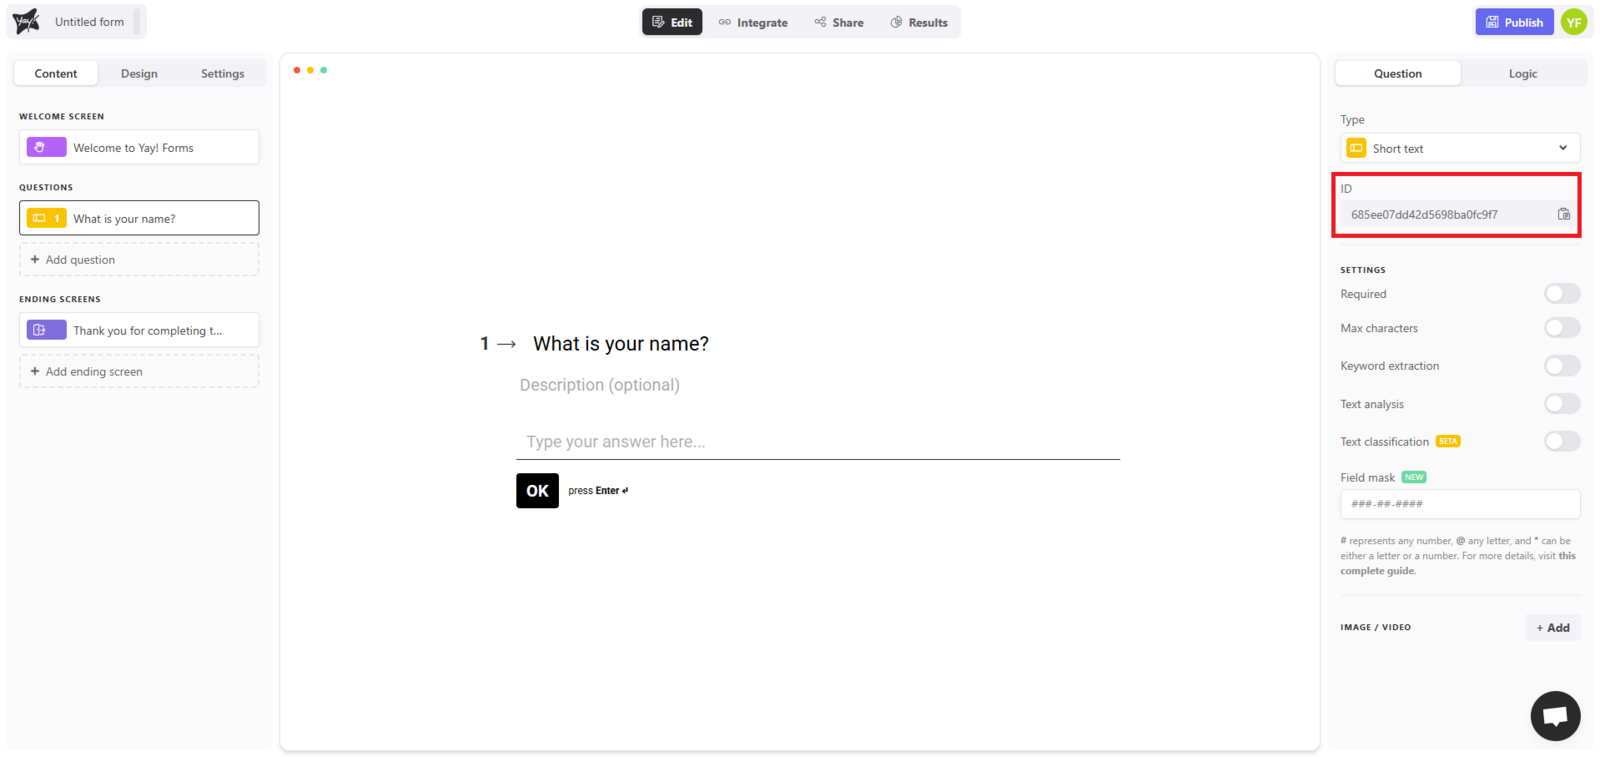
Go back to Clint and map the fields using the key response.answers.id_da_pergunta.content. You can find the question IDs in the editing module of the form you want to integrate with Clint, and you can copy them by clicking the highlighted button:
In Clint, the mapping should look like this:
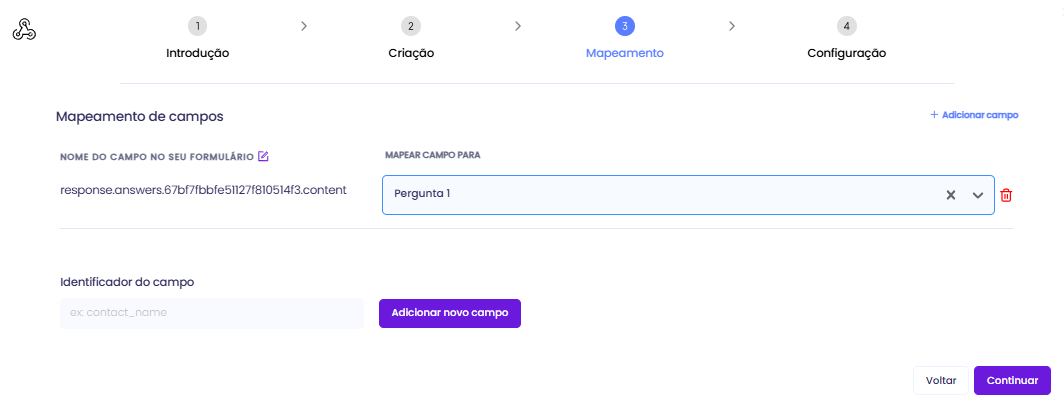
After mapping all fields, click Continue.
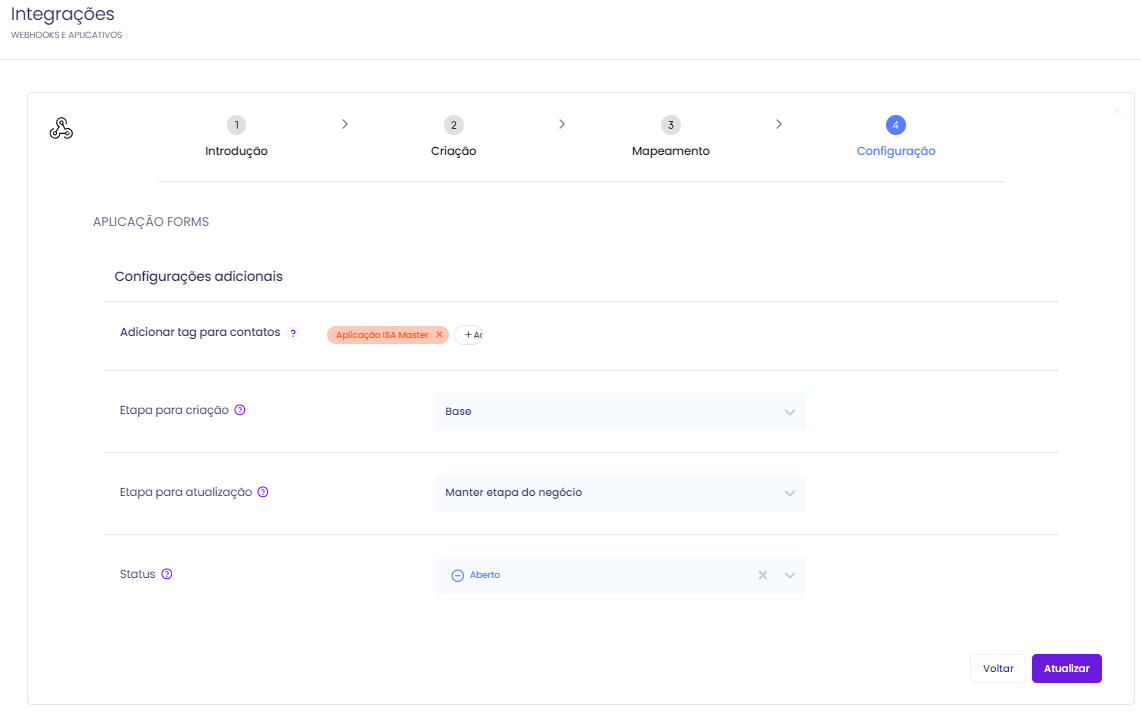
Finish your integration in Clint.
Test the integration
Test your integration by filling out the form with a fake name, phone number, and email, and they will appear in Clint!
Contact
If you have any questions or suggestions, send an email to [email protected].
Conclusion
You now have a complete webhook-based connection between Yay! Forms and Clint, including the correct field mapping and a simple way to confirm that submissions are being delivered successfully.