This article will help you understand and set up the integration between Yay! Forms and GoHighLevel, including how to connect your account, map form fields to GoHighLevel records, apply tags, and configure conditional sending.
Before we start the tutorial, I recommend that you watch this demonstration video. In it, you will see how the integration with GoHighLevel works.
Steps to connect Yay! Forms with GoHighLevel
Follow the steps below to connect your Yay! Forms form with GoHighLevel:
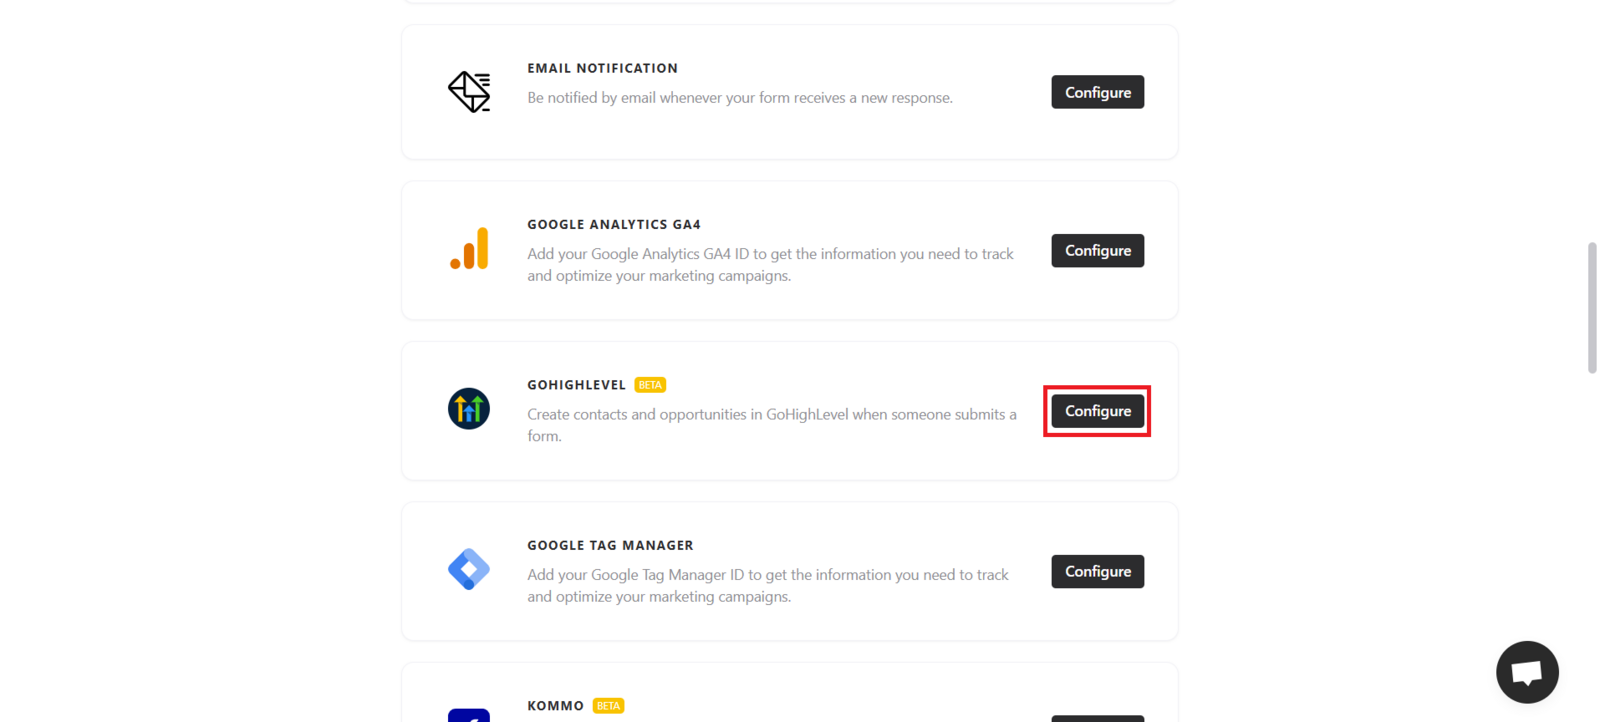
1. Access the form
Open the desired form and go to the Integrate tab. There, you will find the GoHighLevel integration. Click Configure to start setting up your GoHighLevel account.
2. Connect your GoHighLevel account
When you access the integration screen, you will need to connect your GoHighLevel account.
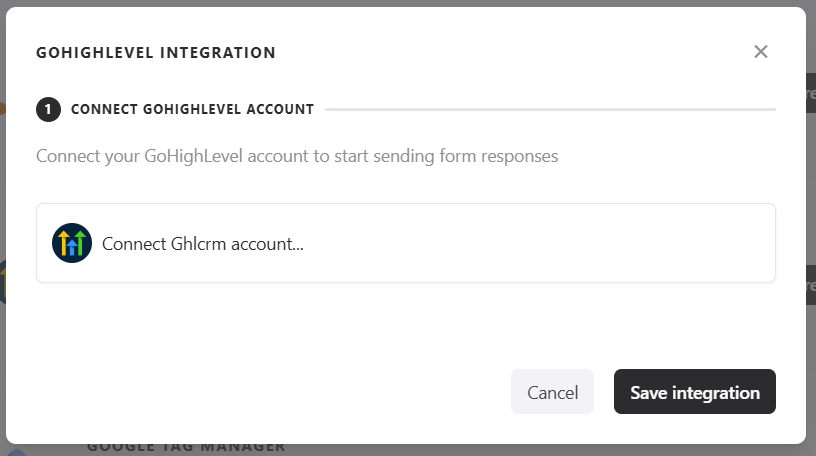
Note: Keep in mind that when you log in, a new tab will automatically open to complete the process. After clicking “Login,” another tab will open for you to log in to GoHighLevel. Once you complete that login, you should return to the previous tab and continue with the connection.
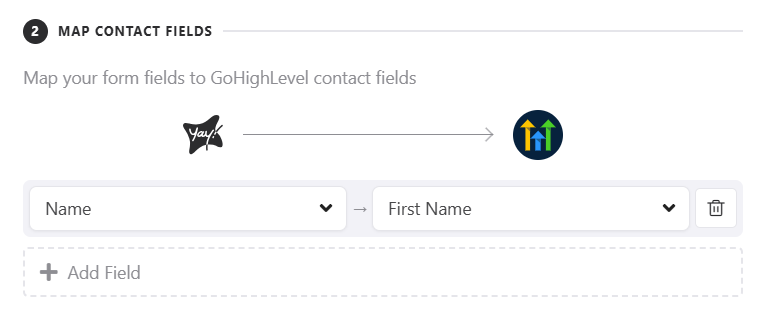
3. Create contacts
Now you can map your form fields to your contact fields in GoHighLevel, so the contact will be created with the responses from the mapped fields.
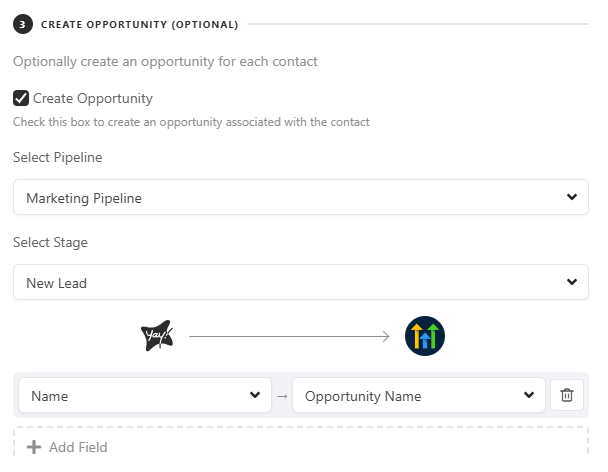
4. Create opportunities
You can also map your form fields to your opportunity fields in GoHighLevel. To do this, you first need to select a pipeline and the stage where this opportunity will be placed.
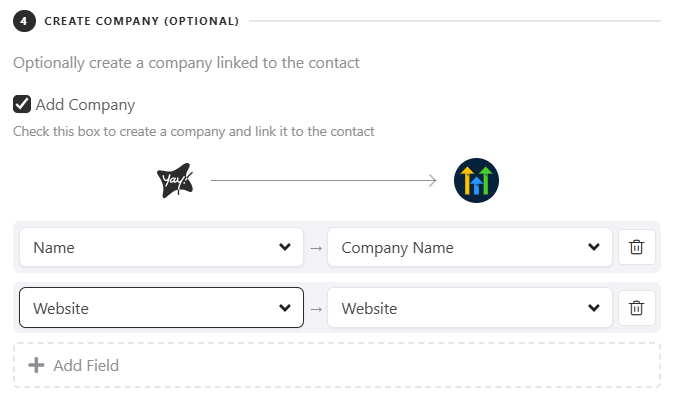
5. Create companies
You can also map your form fields to the fields of your company created in GoHighLevel.
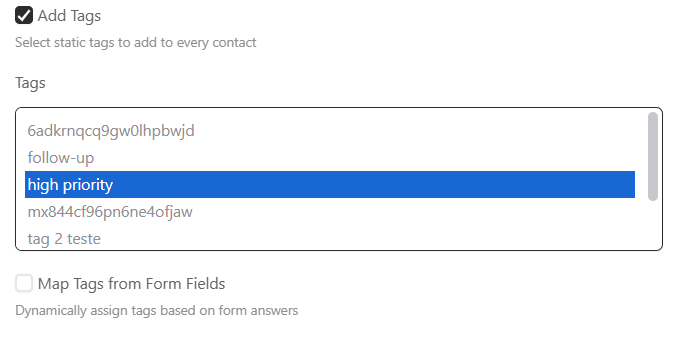
6. Add tags to responses
If you want, you can add tags to submitted responses. To do this, simply click Add tags to your response and select a tag.
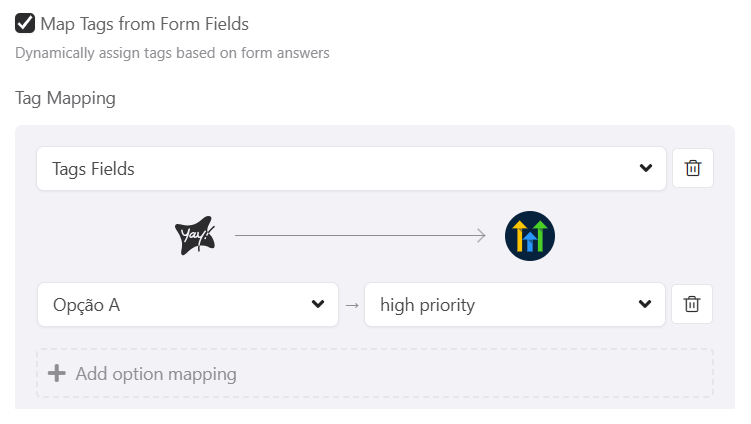
7. Dynamic tags based on multiple choice
You can automatically assign tags based on the selections made in multiple-choice fields, as shown in the example below:
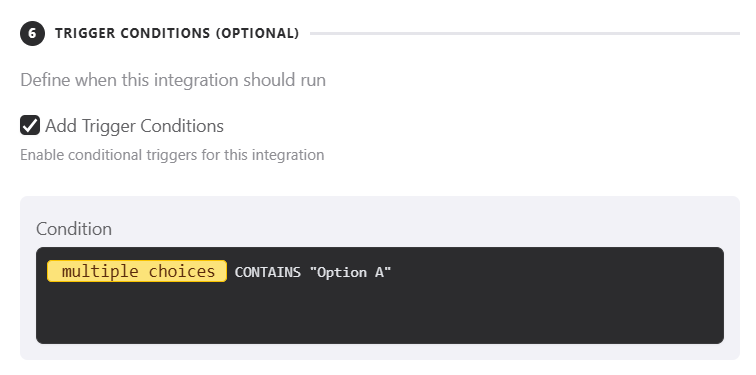
8. Conditional sending based on responses
This feature lets you define conditions for sending data to GoHighLevel. That way, depending on the user’s answer, the information will be sent to the platform only if the established condition is met.
If you are interested in better understanding how our conditional system works, you can access our help article on Como Criar Expressões para Execução Condicional de Integrações.
9. Send previous responses
You can enable the option Run on Previous Responses. When you activate it, all responses already recorded up to that point will be sent to GoHighLevel, not just the new ones.

Support and feedback
We hope you enjoy this new integration! 😊
If you have questions or suggestions, contact us by email at [email protected].
Conclusion
You now have an overview of how to set up the Yay! Forms integration with GoHighLevel, including connecting your account, mapping fields to create contacts, opportunities, and companies, and using tags and conditional sending options to tailor how data is sent.