This article will help you connect your Yay! Forms form to Kommo, configure where form submissions should be sent, map form fields to Kommo fields, and optionally add tags (including dynamic tags based on multiple-choice answers).
Connect your Yay! Forms form with Kommo
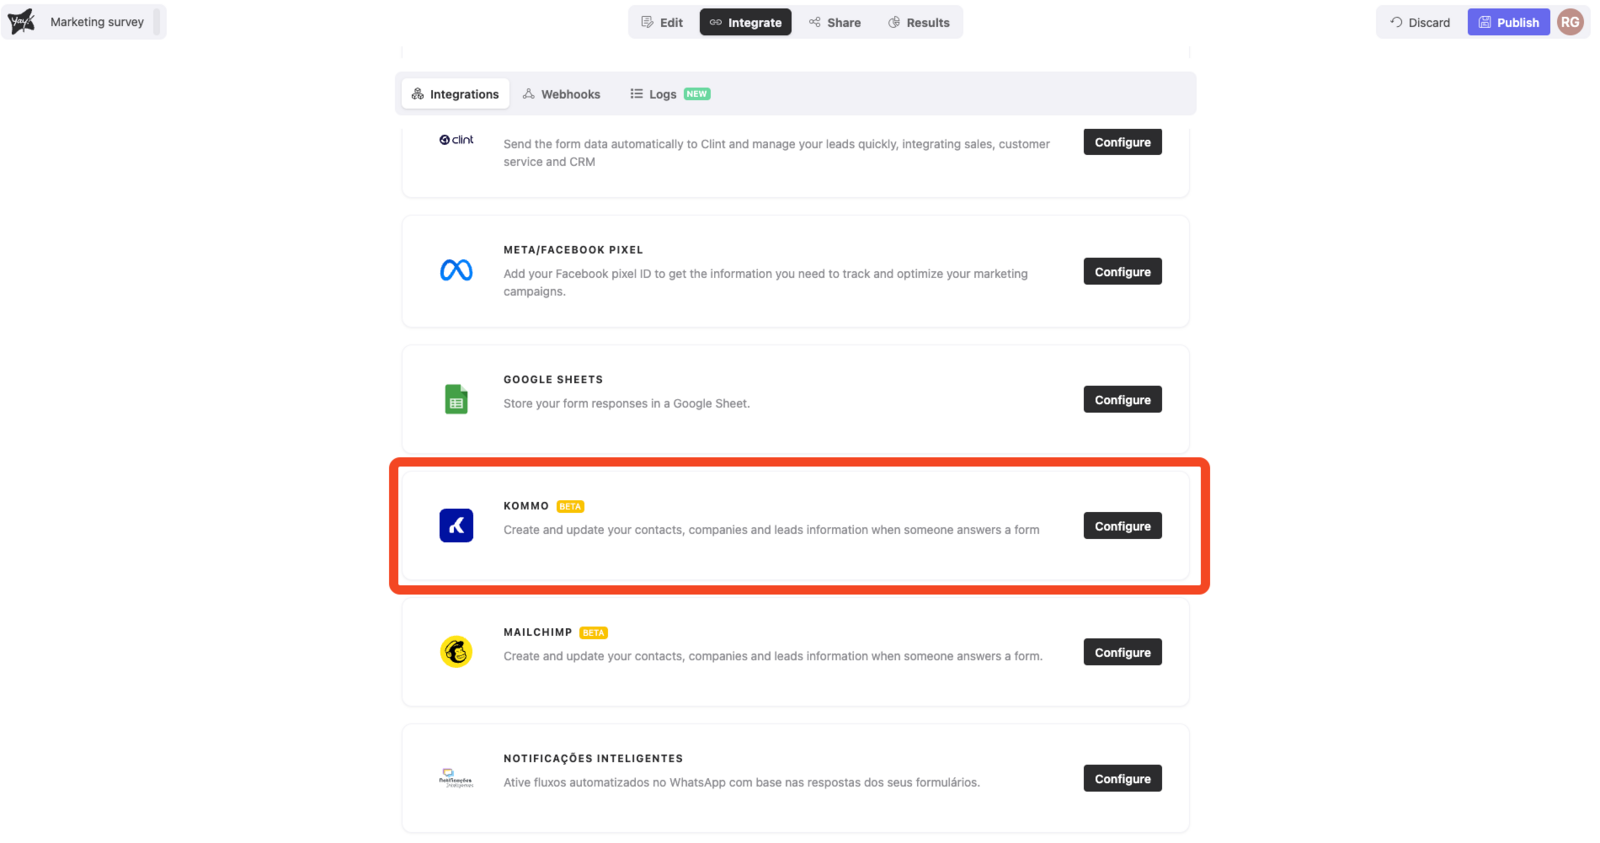
1. Access the form
Open the desired form and go to the Integrate tab. There, you will find the Kommo integration. Click Configure to start setting up your Kommo account.
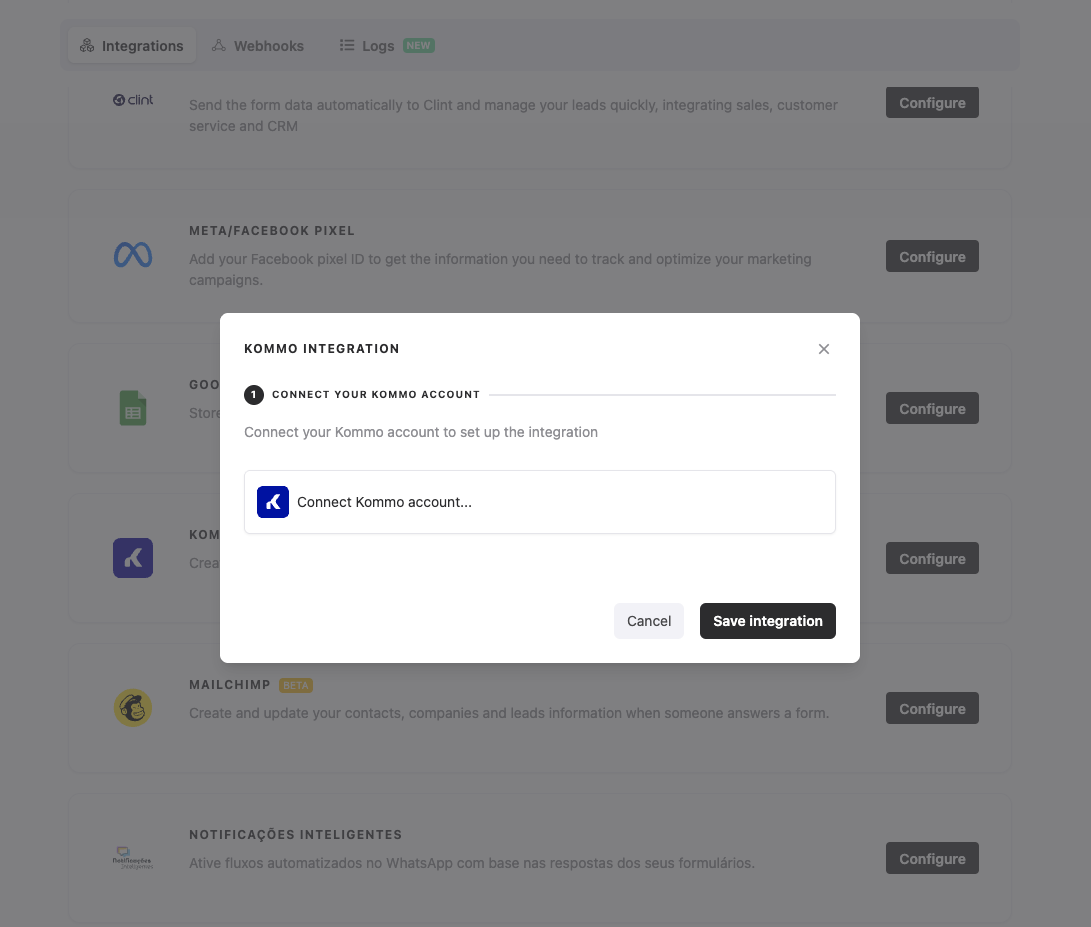
2. Connect your Kommo account
When you access the integration screen, you will need to connect your Kommo account. After that, select the funnel (pipeline) and the status you want to send the form data to.
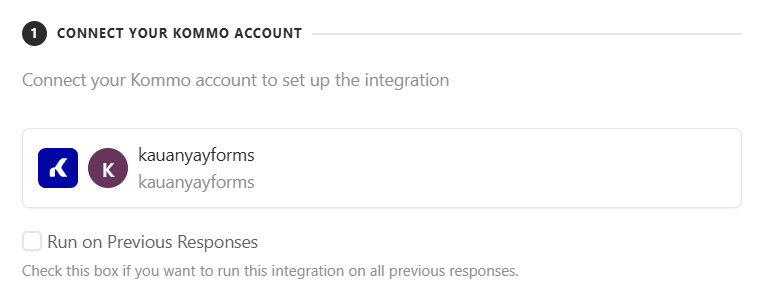
2.1 Send previous responses
After connecting your account, you can enable the Run on Previous Responses option. When enabled, all responses already recorded so far will be sent to Kommo—not just new ones.
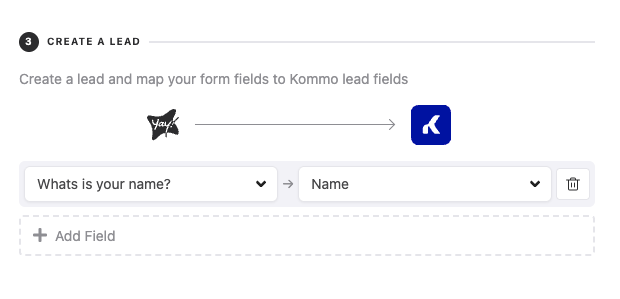
3. Map the fields
You can now map the fields in your form to the fields in your list in Kommo.
4. Additional information
You can create/attach a Kommo Contact:
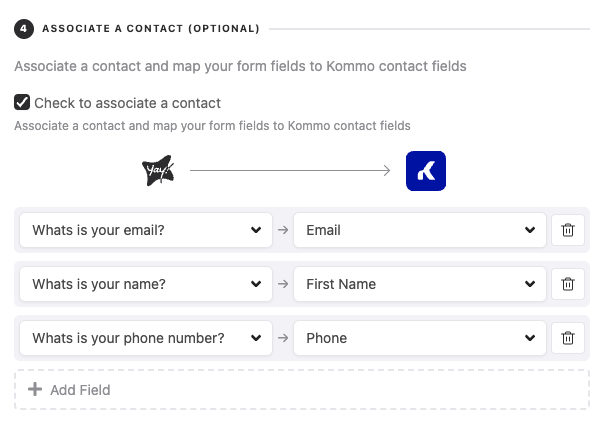
You can also create/attach a Kommo Company:

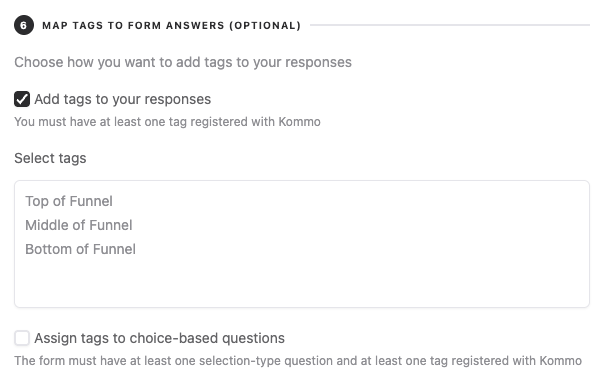
5. Add tags to responses
If you want, you can add tags to the responses sent. To do so, just click Add tags to your response and select a tag.
6. Dynamic tags based on multiple choice
You can automatically assign tags based on the selections made in multiple-choice fields, as shown in the example below:
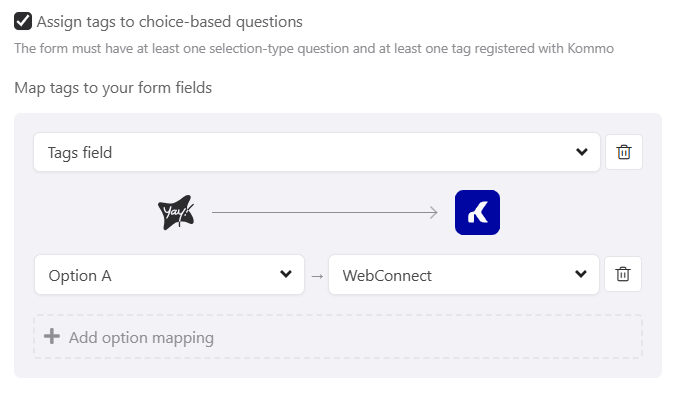
Note: To use this feature, you must have at least one tag registered in Kommo and at least one multiple-choice field in your form.
Conclusion
You now have a structured way to connect Yay! Forms to Kommo, choose the pipeline and status for incoming data, map fields correctly, and enhance submissions with optional contact/company linking and tagging—including dynamic tags from multiple-choice selections.