This article will help you connect your Yay! Forms form to n8n using a Webhook, so submissions can be sent from Yay! Forms to your n8n workflow.
Connect Yay! Forms to n8n via Webhook
1. Access n8n and add the “Webhook” trigger
In the n8n dashboard, search for Webhook in the list of triggers and add it to your workflow.

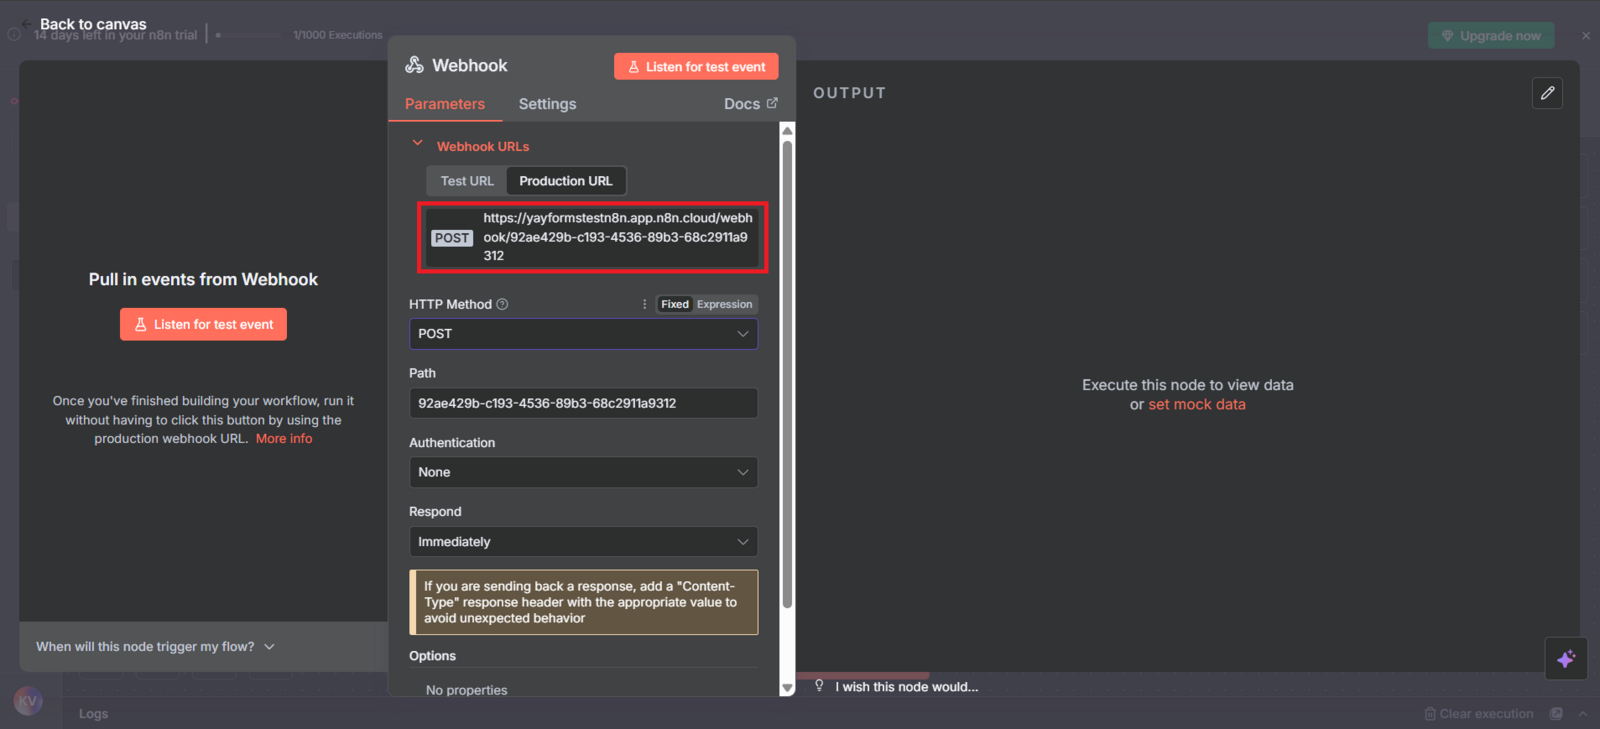
2. Set the method to POST and copy the production URL
With the Webhook node selected, change the HTTP method from GET to POST.
Then, copy the link available under the “Production URL” tab.
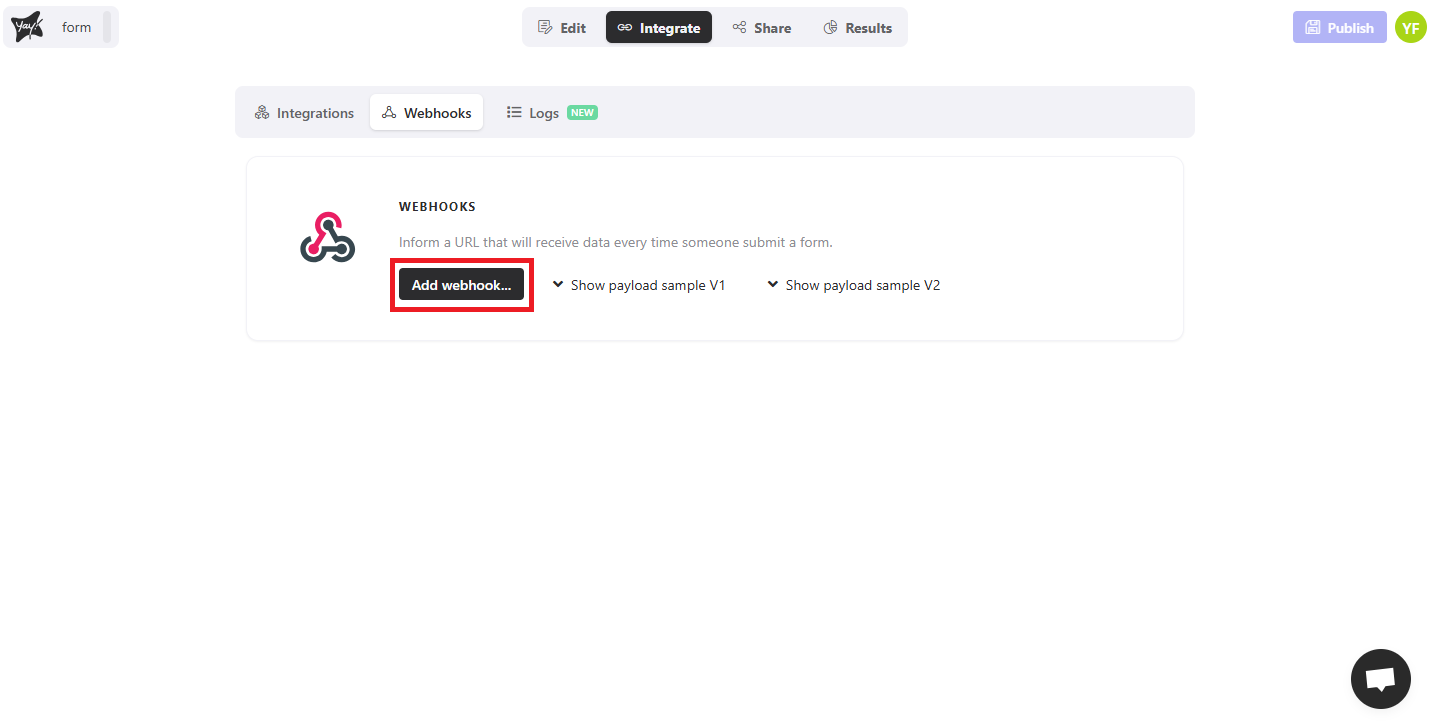
3. Go to Yay! Forms and add a new Webhook
Now, access your Yay! Forms account, open the desired form, and go to the “Integrate” tab.
Then, click “Add Webhook”.
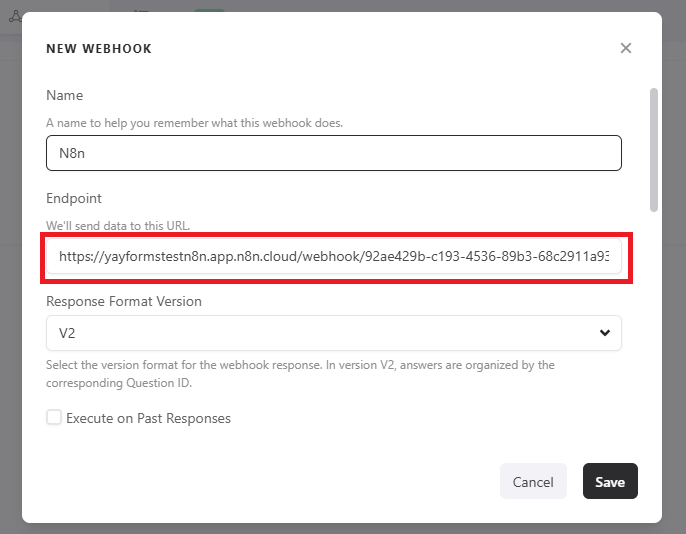
4. Paste the URL copied from n8n into the “Endpoint” field
In the “Endpoint” field, paste the URL you copied from n8n.
Right below, select the V2 response format.
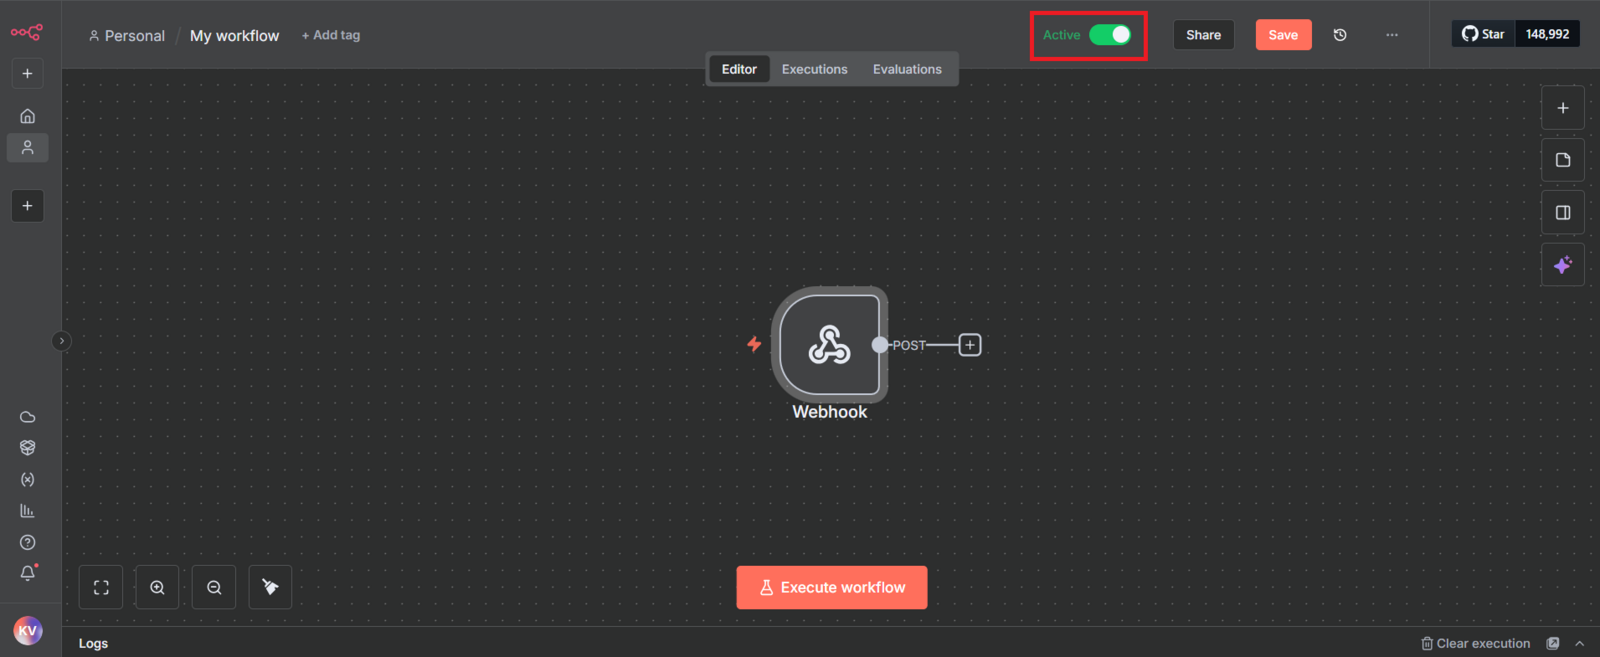
5. Activate your integration module in n8n
Finally, go back to n8n and activate the workflow so it starts receiving the data sent by Yay! Forms.
Support
We hope you enjoy the new integration.
If you have any questions or suggestions, send an email to [email protected].
Conclusion
You learned how to set up an n8n Webhook trigger, copy the production URL, add it as a webhook endpoint in Yay! Forms using the V2 response format, and activate your n8n workflow to start receiving form submission data.