This article will help you integrate Yay! Forms with Pipedrive, guiding you through where to find the integration option, how to open Zapier, and how to connect and authorize your Pipedrive account so you can complete the setup.
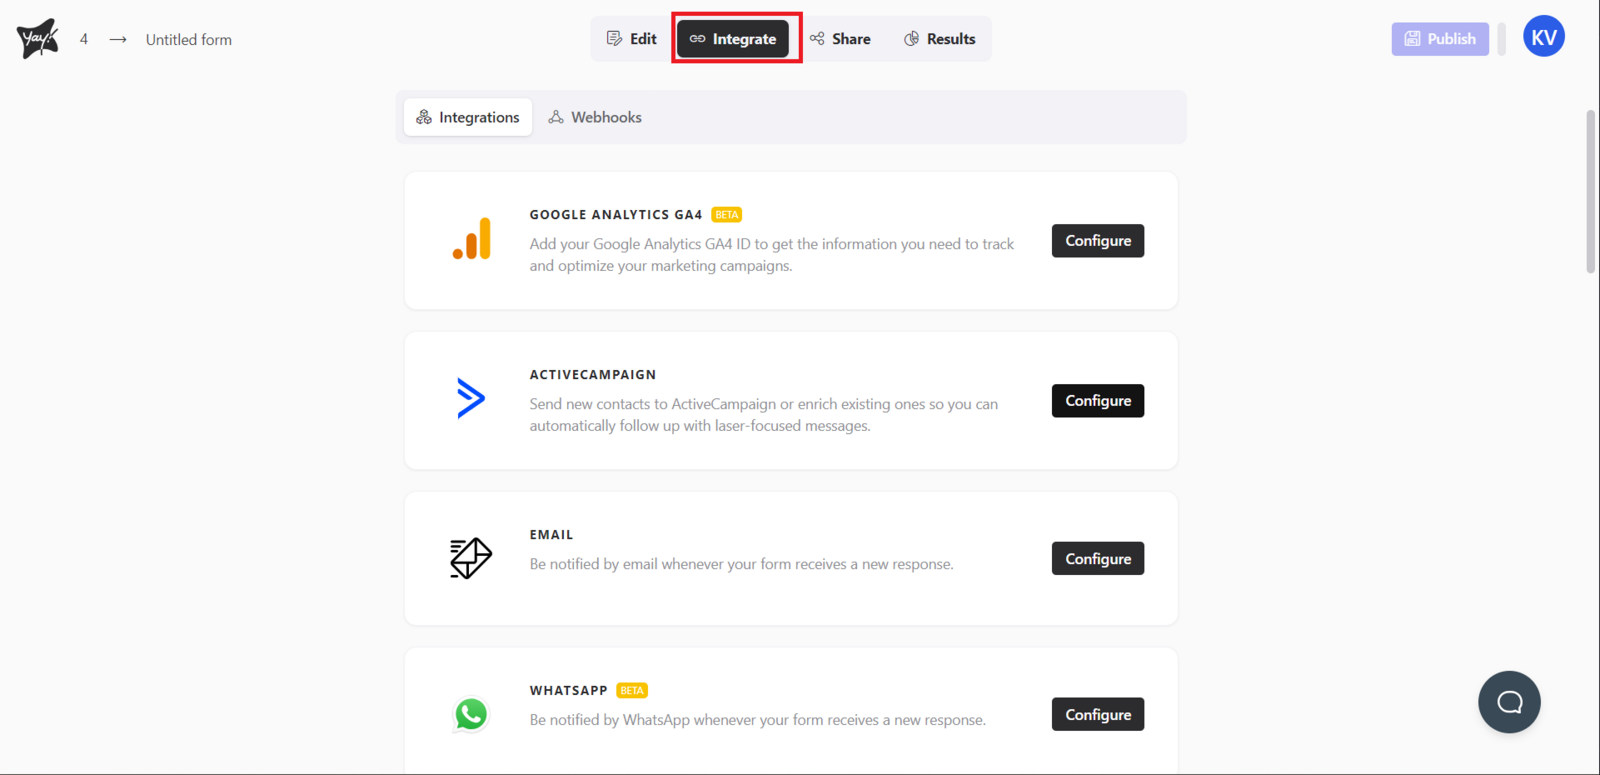
Accessing the integration settings in Yay! Forms
Follow the steps below to integrate Yay! Forms with Pipedrive:
First, access the desired form and select the Integrate tab. At this point, you will find the Pipedrive option. Click Set up to proceed with the Pipedrive integration.
Opening Zapier
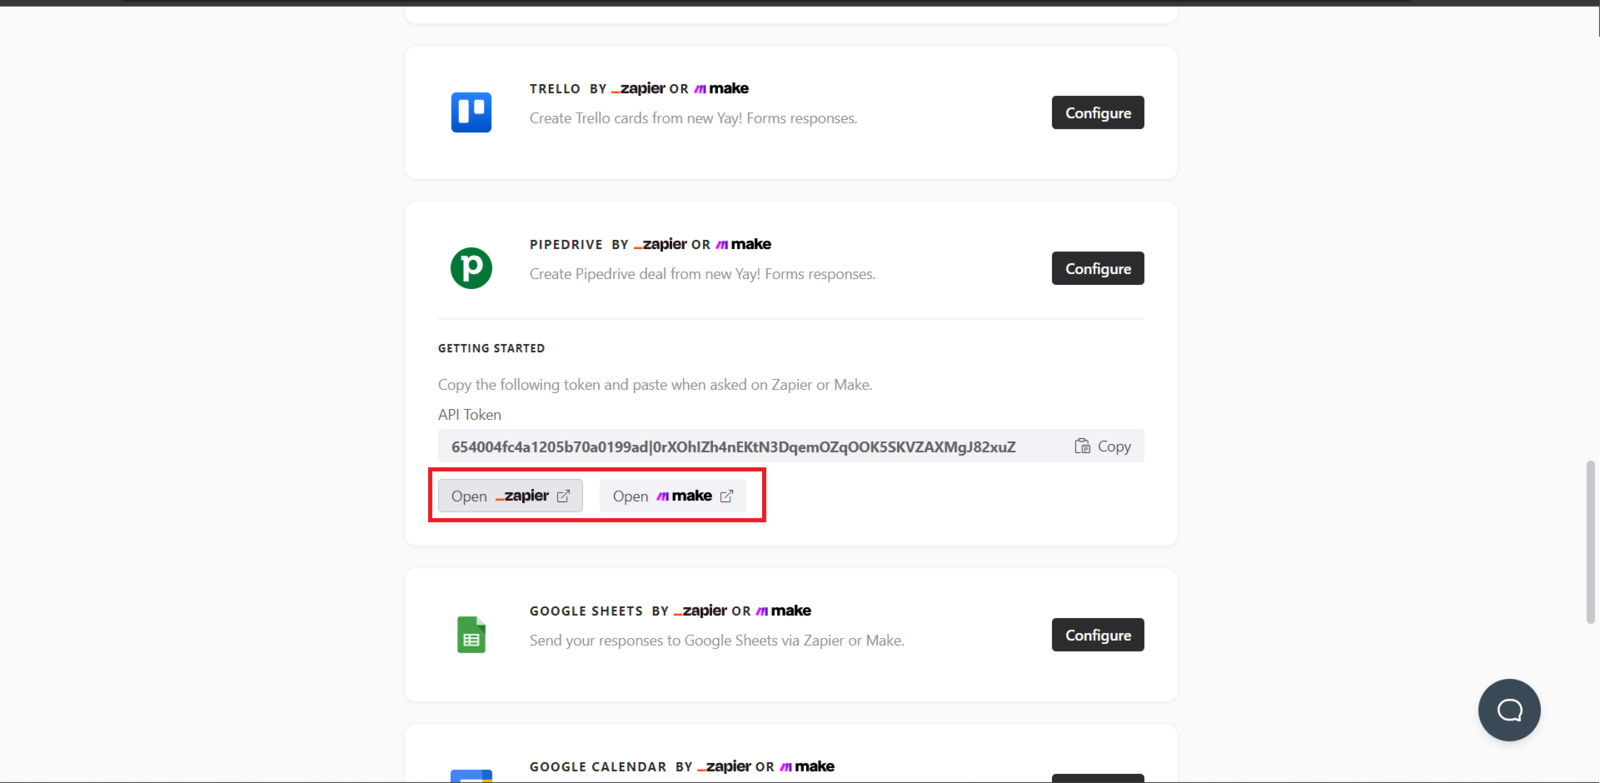
Now you can select Open Zapier. Once you do, you will be redirected to the Zapier screen, as shown below:
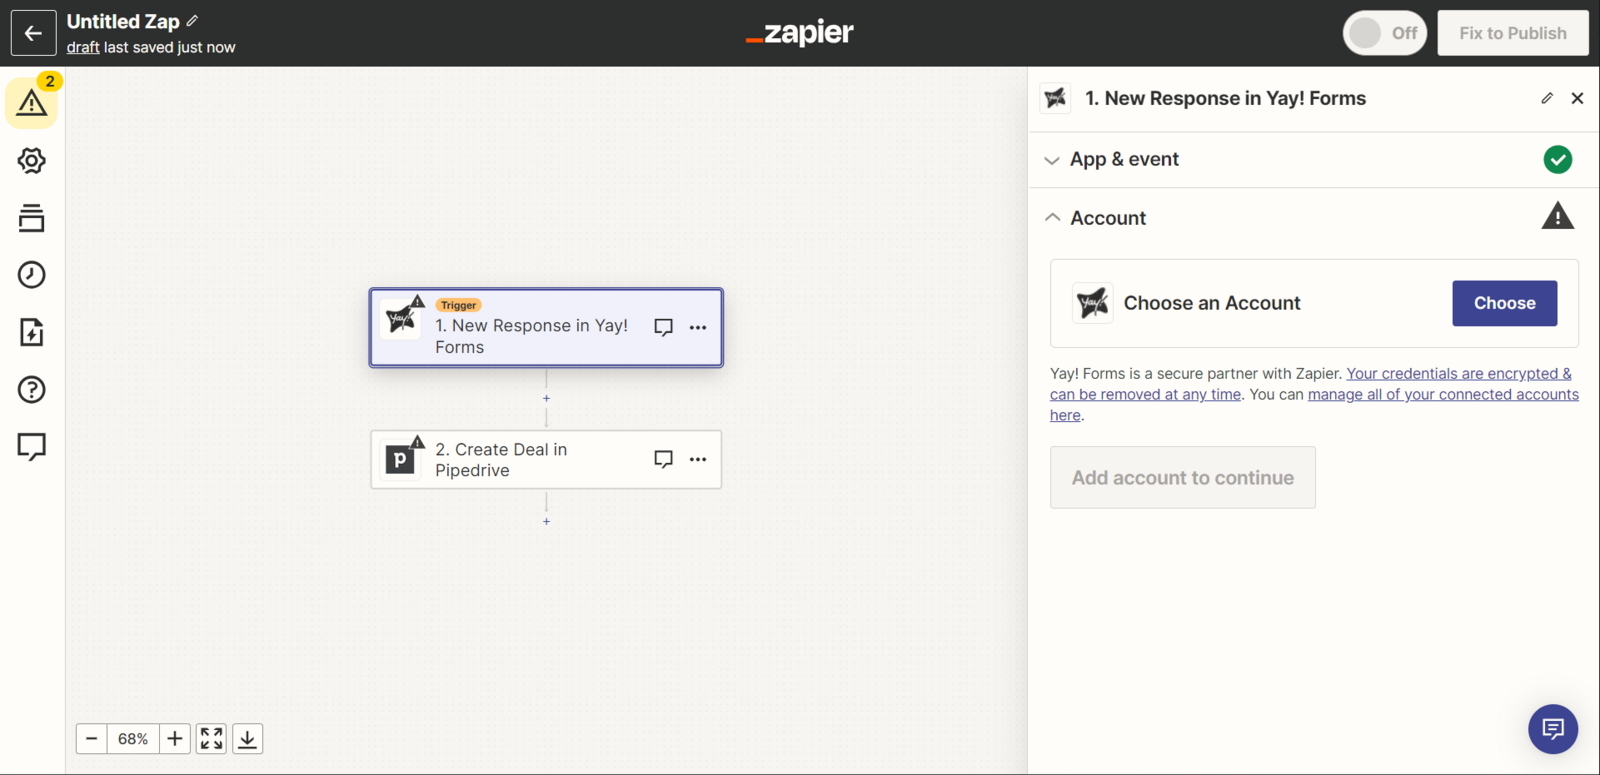
Configuring Yay! Forms and Pipedrive in Zapier
Now you must configure your Yay! Forms account in Zapier. To do so, follow this tutorial by clicking nesse link.
After configuring Yay! Forms, you should configure Pipedrive. To do so, click the button as shown below.
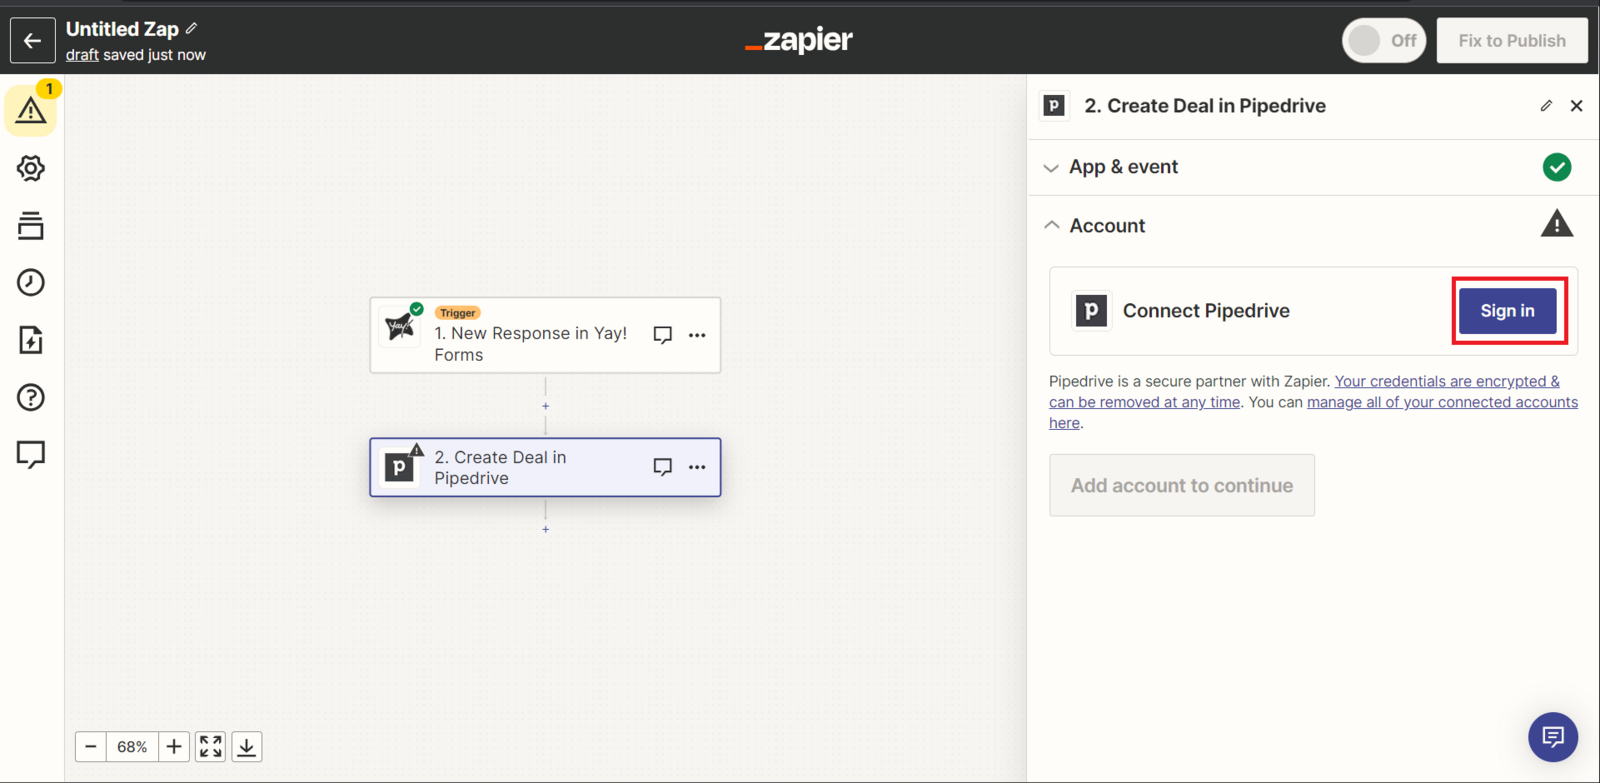
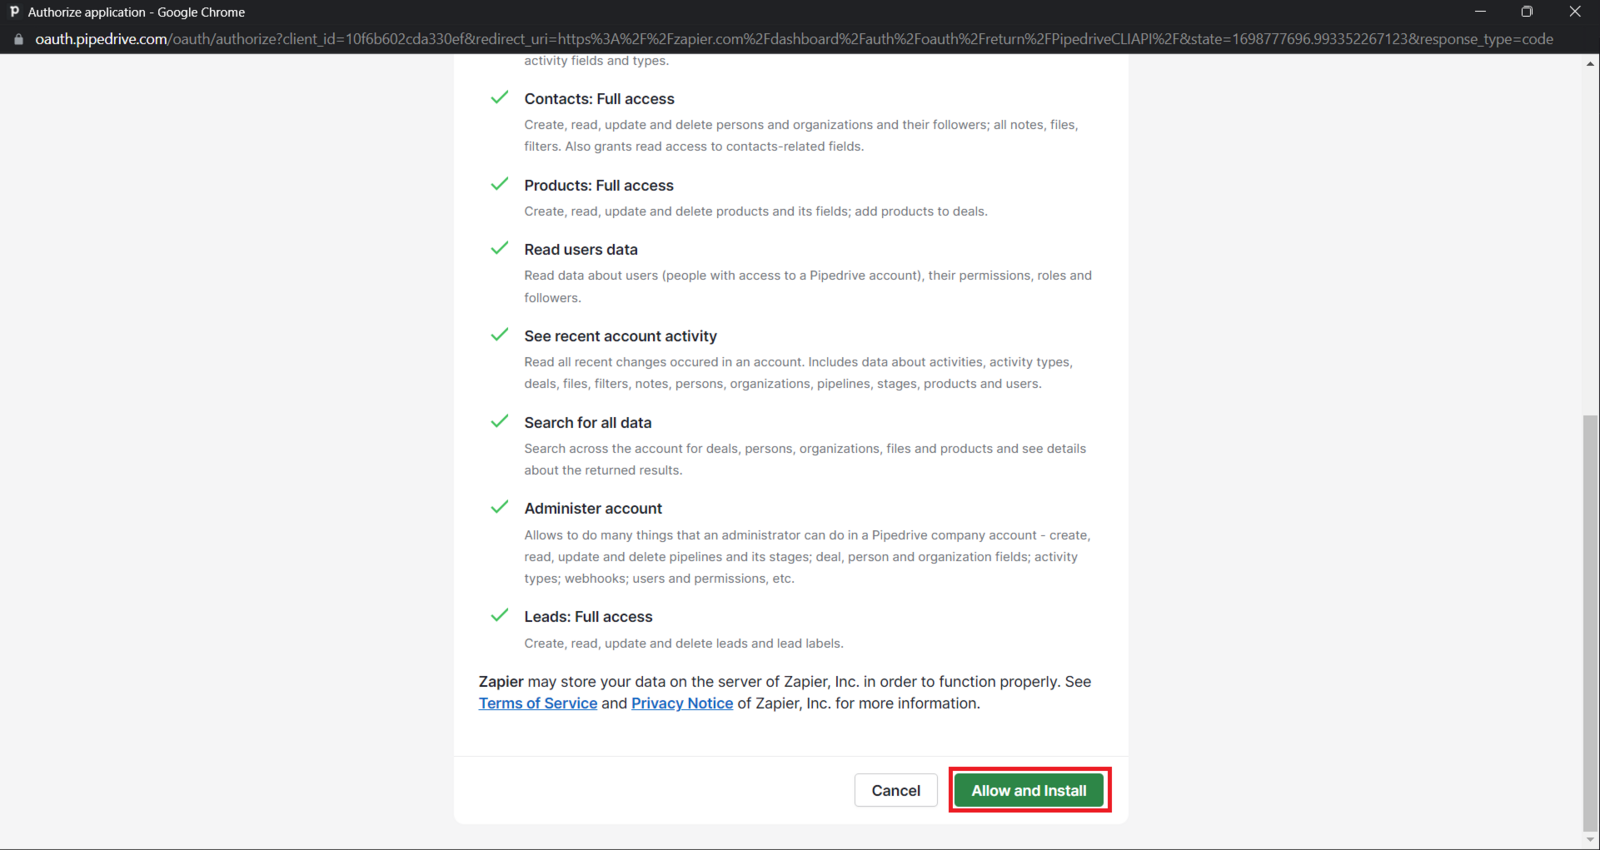
Right after you click, a window will appear for you to connect your Pipedrive account. Just connect and click Allow and install.
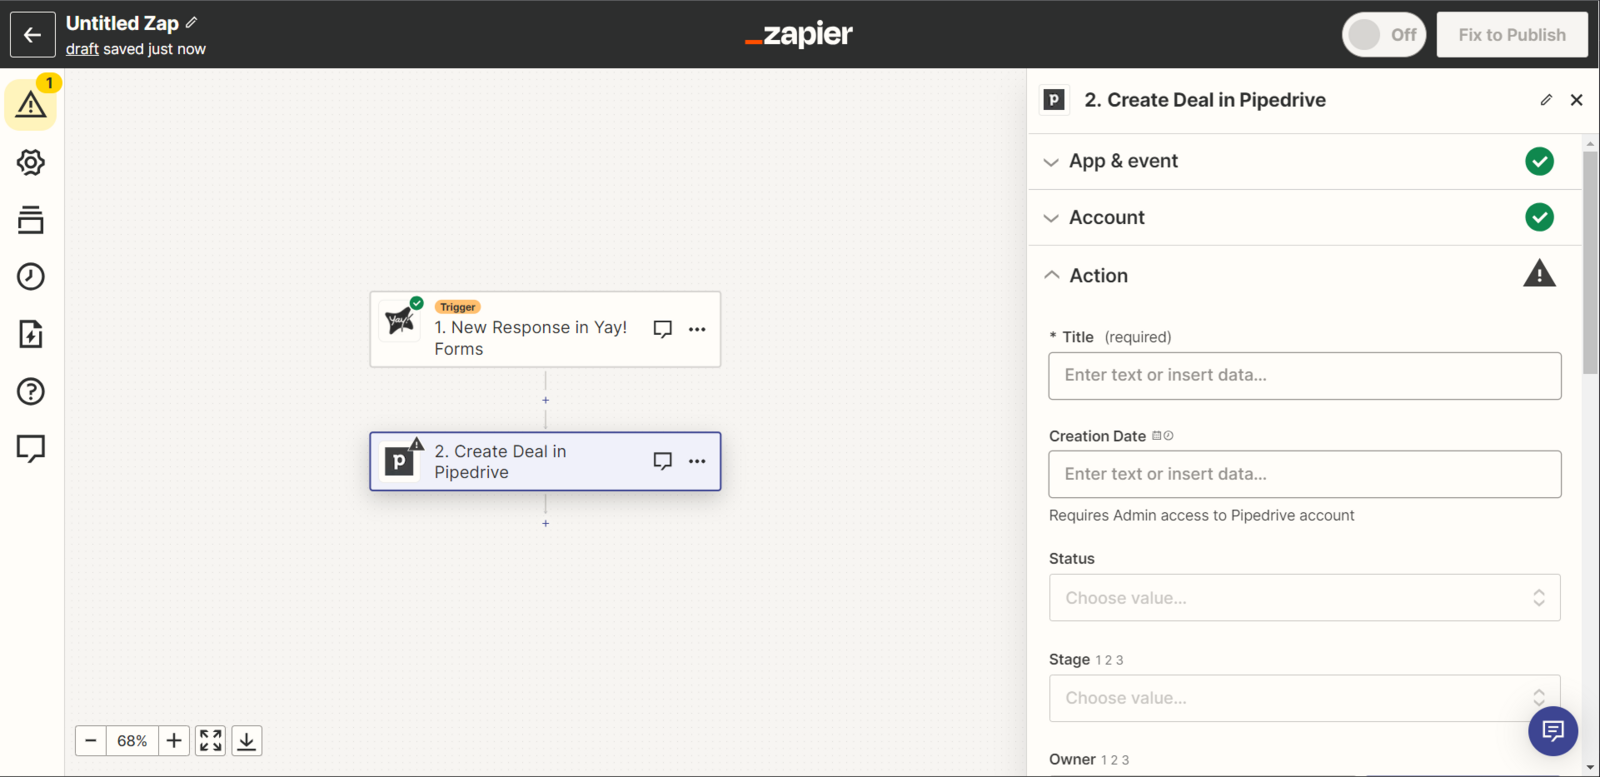
Finalizing the integration
Now just finish the configuration however you prefer, and your Pipedrive integration is complete.
We hope you enjoy the new integration :)
If you have any questions or suggestions, send an email to [email protected].
Conclusion
You learned where to start the Pipedrive integration from within a Yay! Forms form, how the process continues through Zapier, and how to connect and authorize your Pipedrive account to complete the integration.