This article will help you integrate Yay! Forms with Pipefy using Make, covering how to set up the Yay! Forms webhook, connect your API token, choose the workspace and form, and then add and connect the Pipefy module.
Integrating Yay! Forms with Pipefy via Make
Follow the steps below to integrate Yay! Forms with Pipefy via Make:
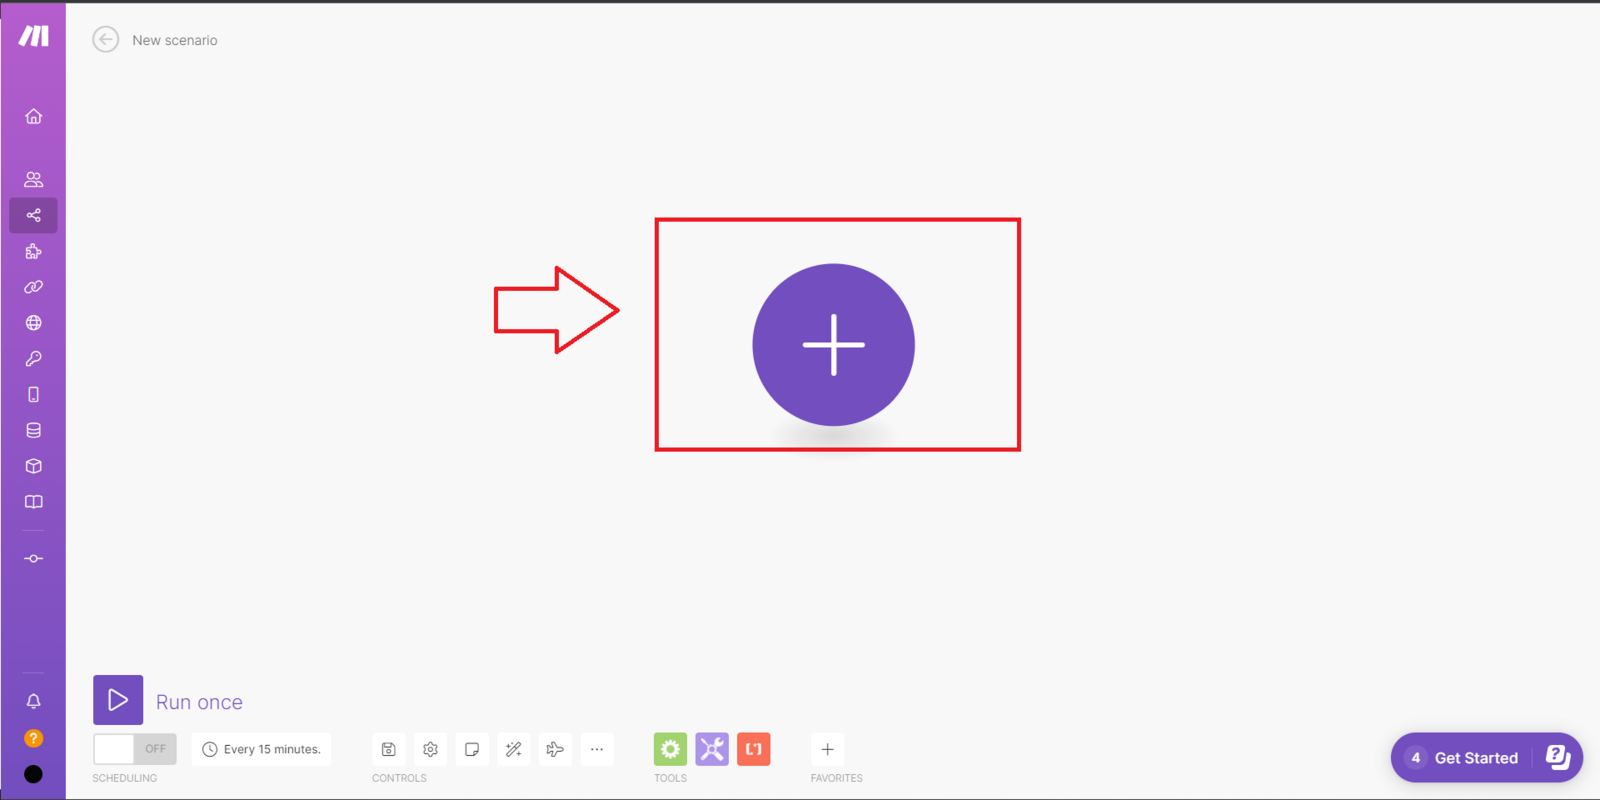
Log in to your Make account, click "Create a new scenario", then click the icon in the middle of your screen.
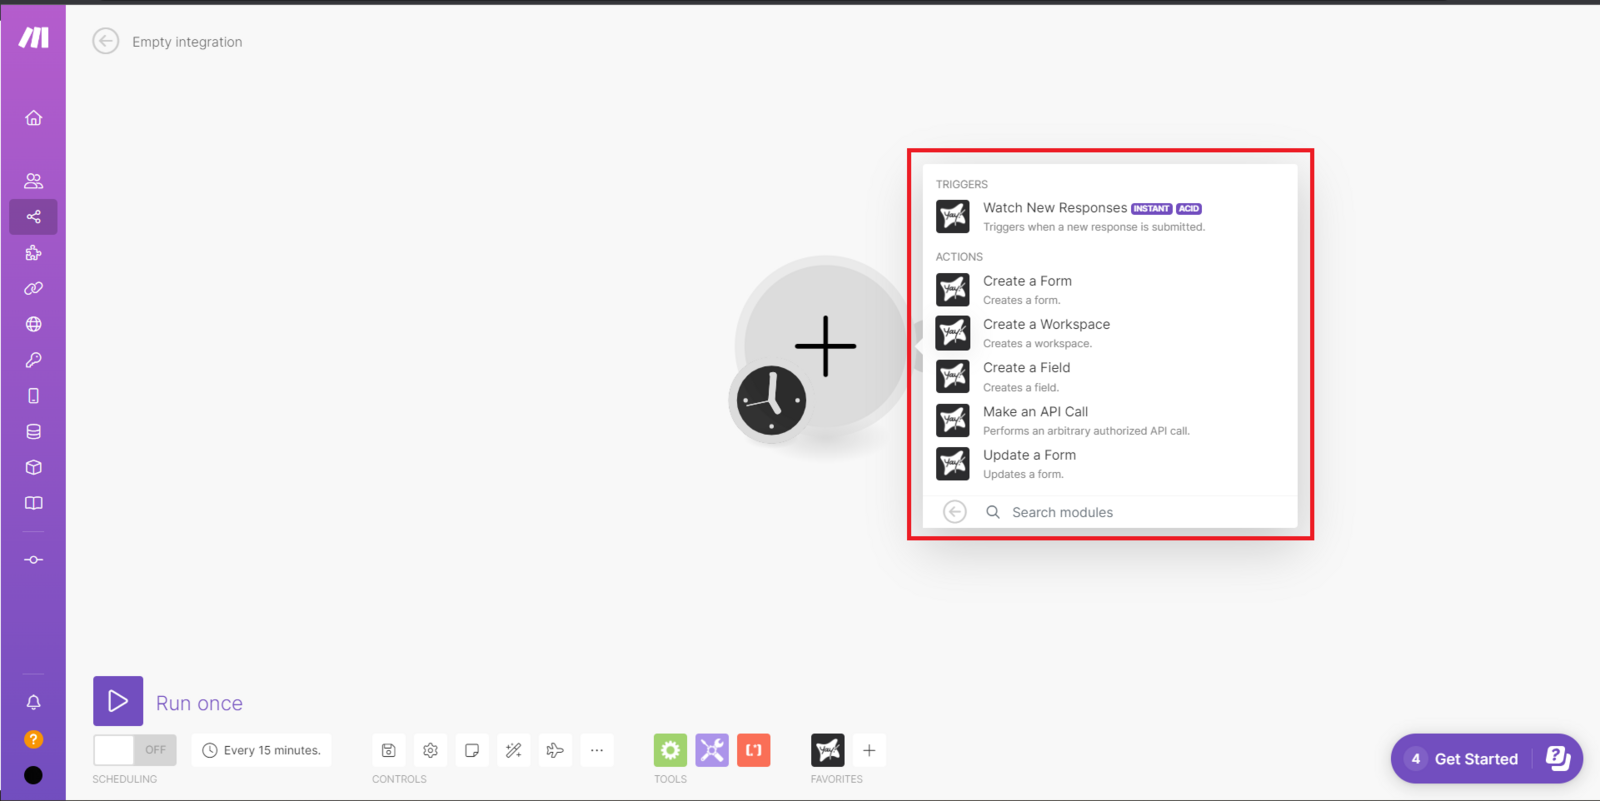
Then search for "Yay! Forms".

Select the module option that works best for you.
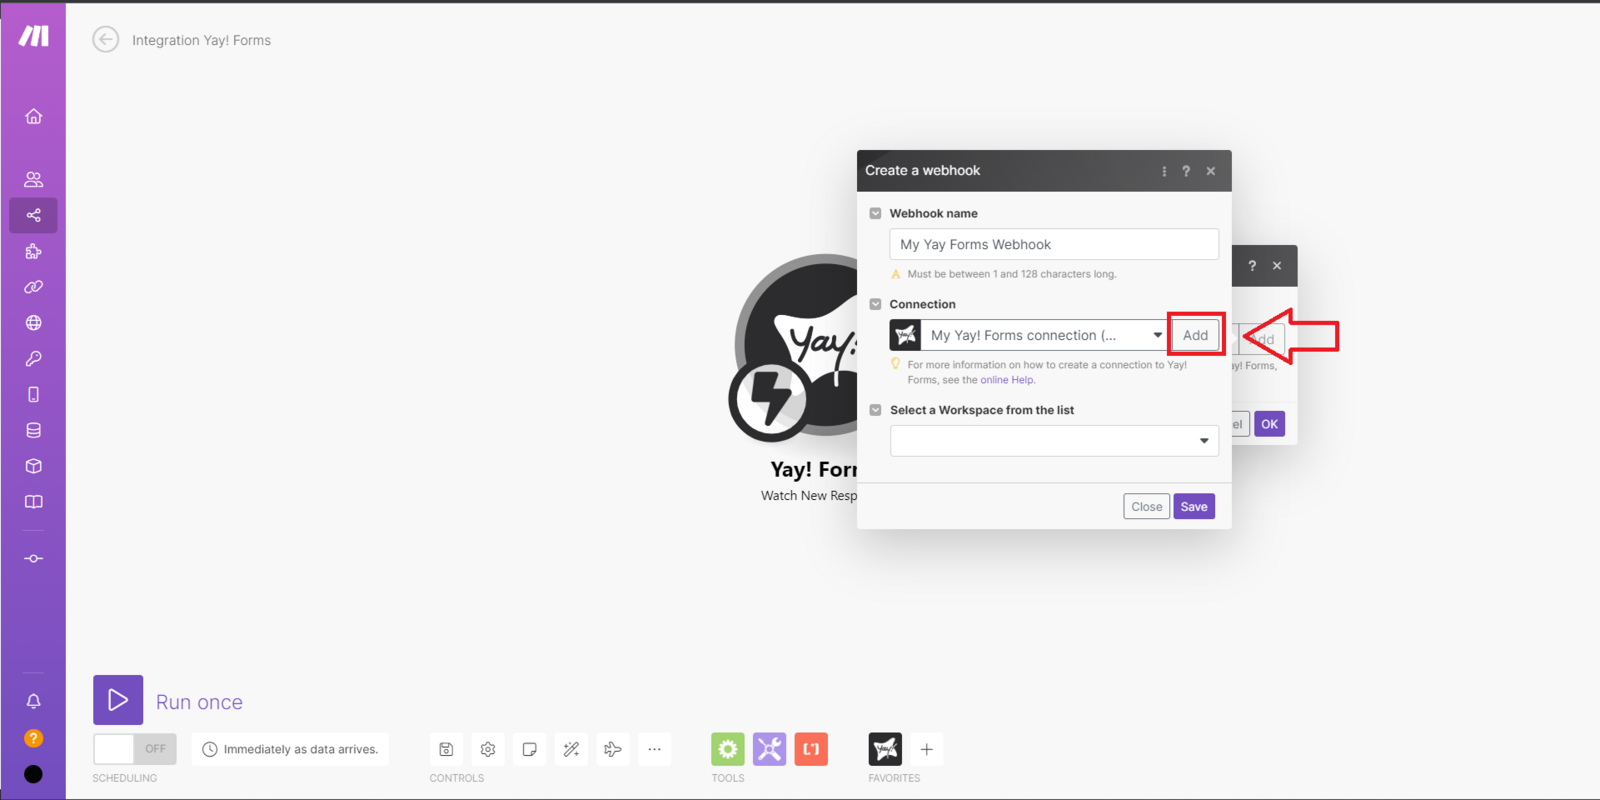
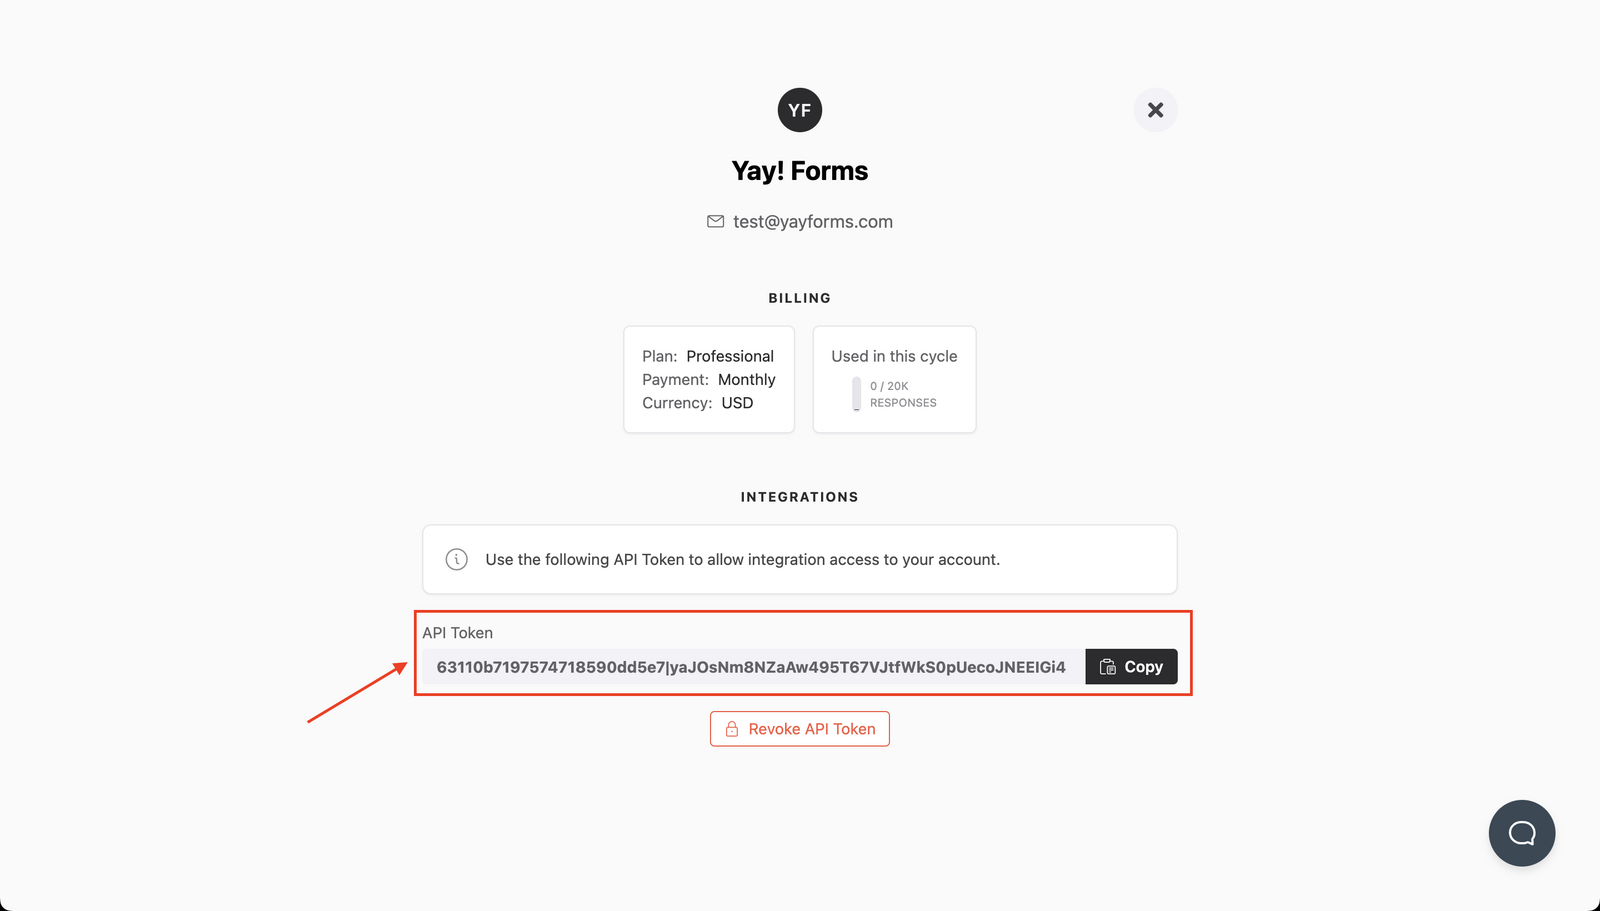
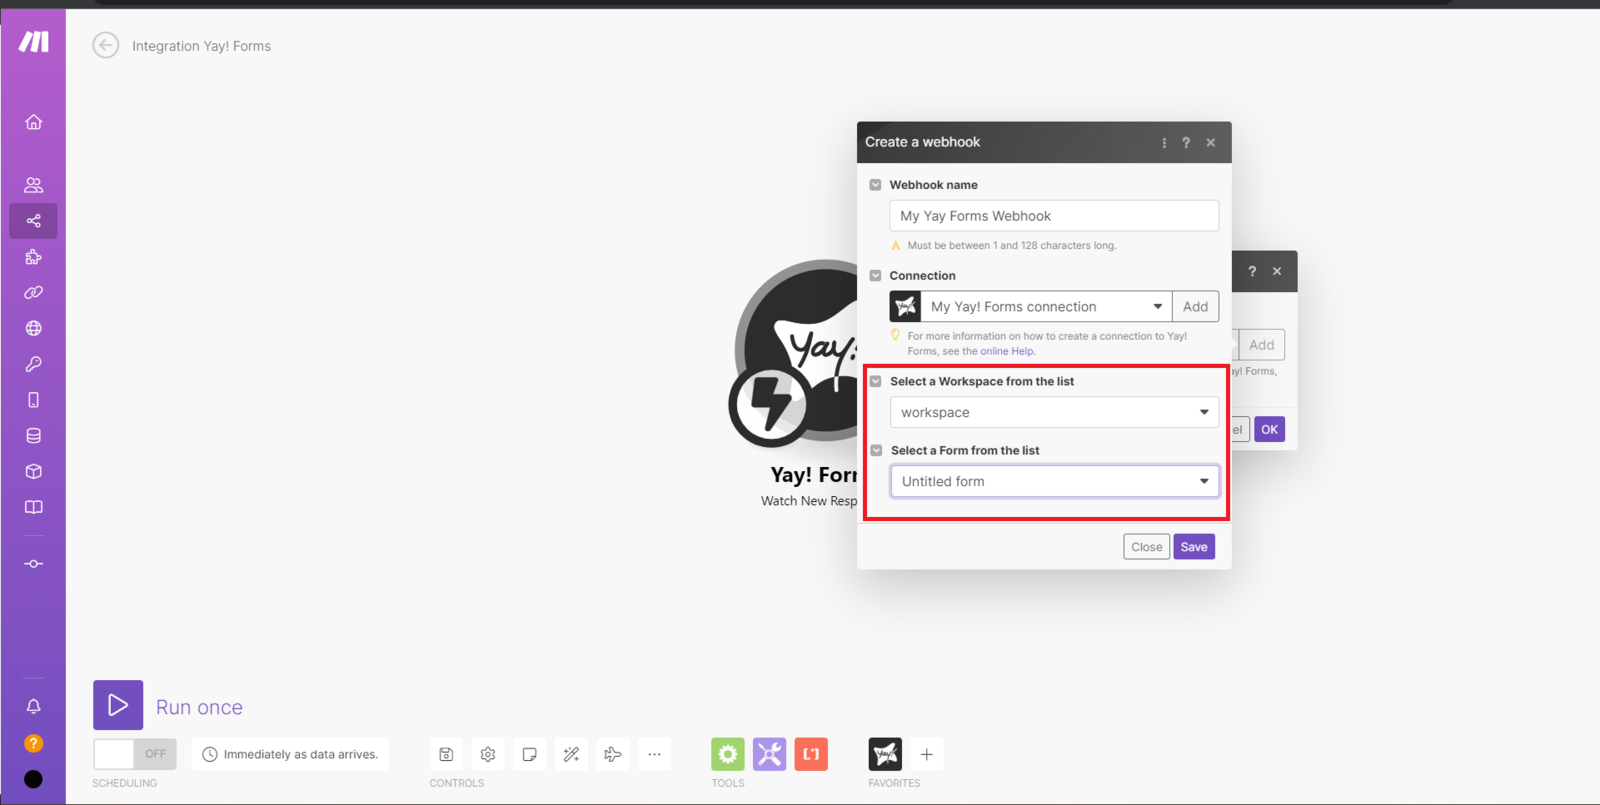
Add a name to your webhook and click add, then add your API token as shown below:
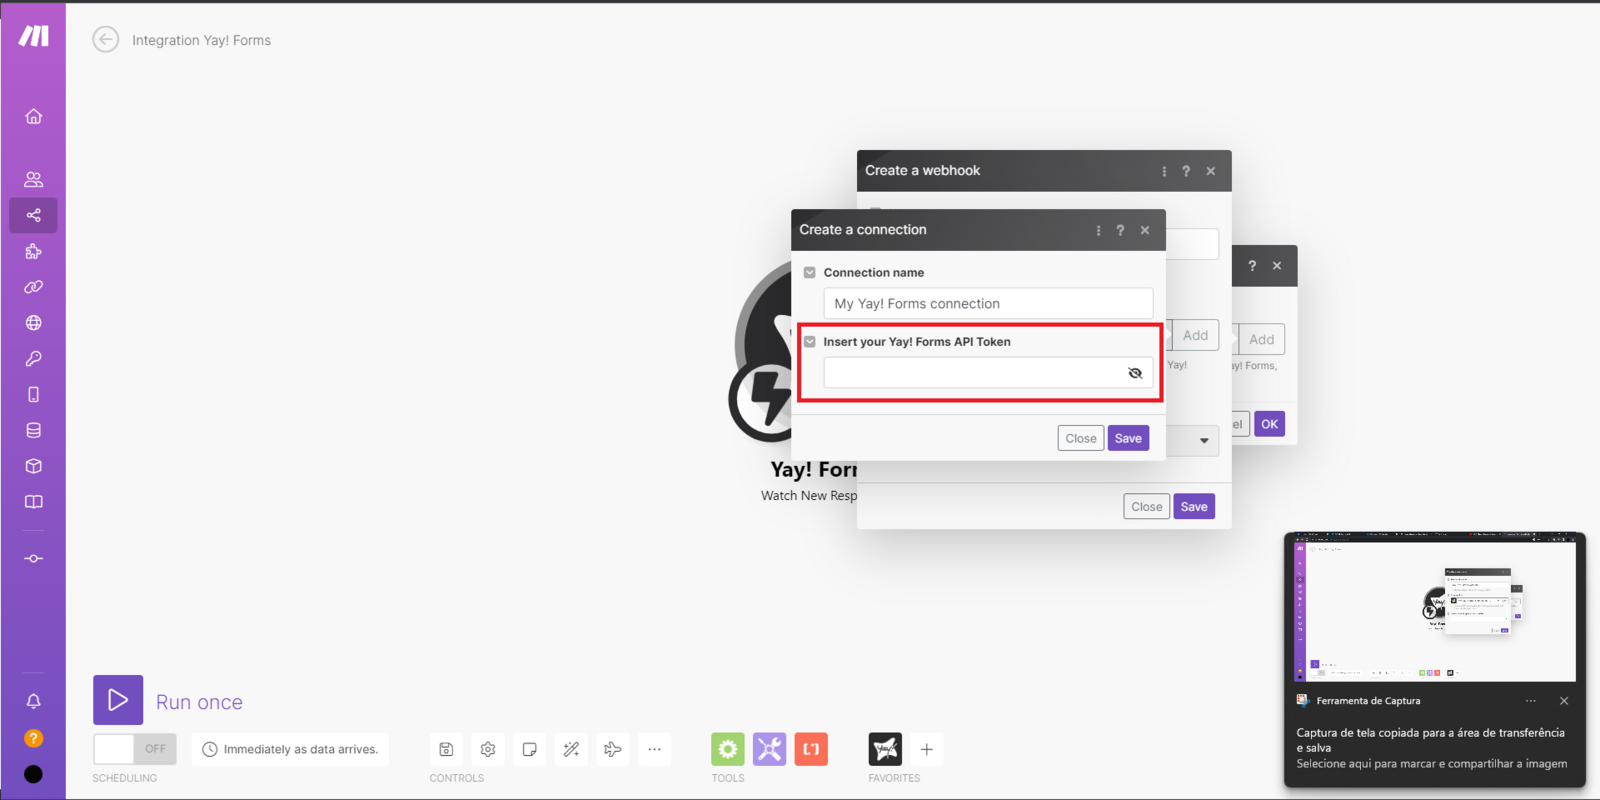
You can generate/get your API token key at https://app.yayforms.com/me, as shown in the image below:
Now you just need to select the workspace and the form you want to add to your webhook:
Adding and connecting the Pipefy module
Now that you have configured Yay Forms, you should click 'Add another module'

After that, search for Pipefy and select the integration option you prefer

Now just connect with your account and you're all set.

Support
We hope you enjoy the new integration :)
If you have any questions or suggestions, send an email to [email protected].
Conclusion
You now have the core pieces needed to connect Yay! Forms to Pipefy through Make: configuring the Yay! Forms webhook with your API token, selecting the correct workspace and form, and adding a Pipefy module to complete the connection.