This article will help you set up and use the Email Feedback integration in Yay! Forms, including how to configure the email content, enable/disable and test the integration, and optionally include AI-generated feedback in your messages using an AI Prompt and the {{ai_feedback}} placeholder.
Setting up the Email Feedback integration
-
Log in to your Yay! Forms account and create or edit an existing form.
-
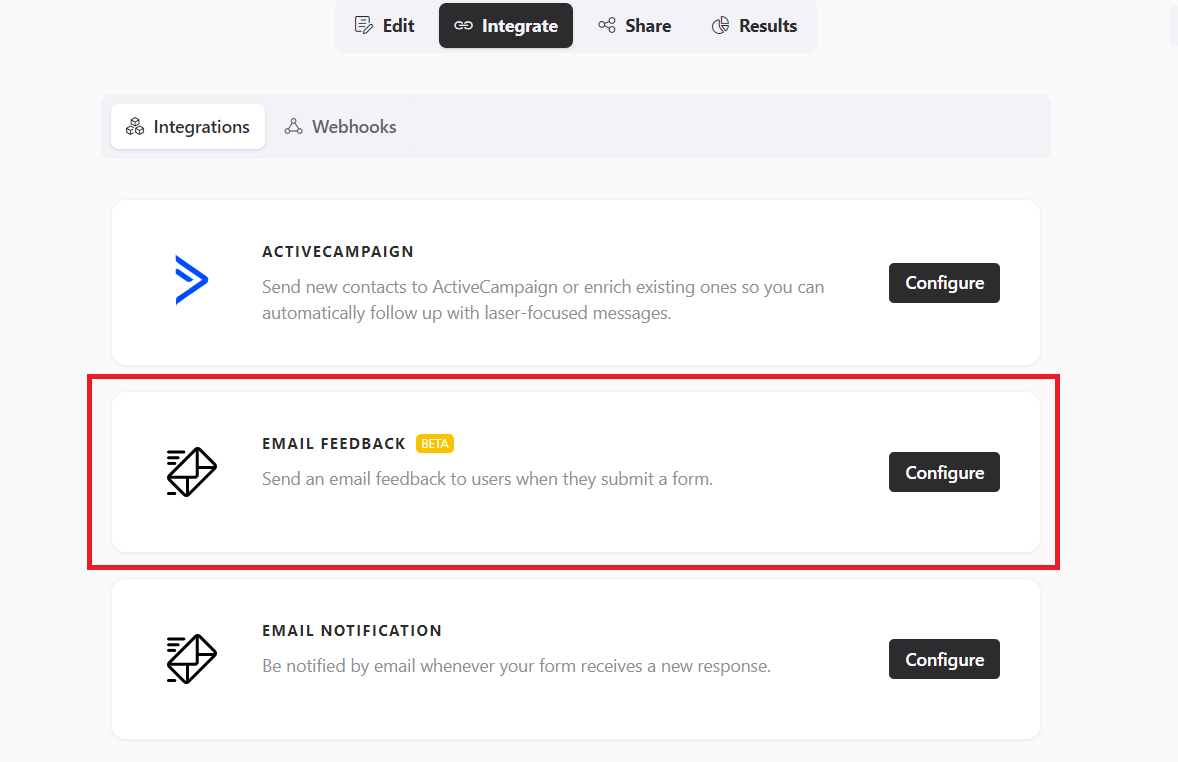
Click Integrations in the form builder at the top of your screen.
-
Click "Email Feedback".
To send the email, you need to create an email-type field in the form. It’s important to note that the system will always capture the value of the first email-type field in the list.
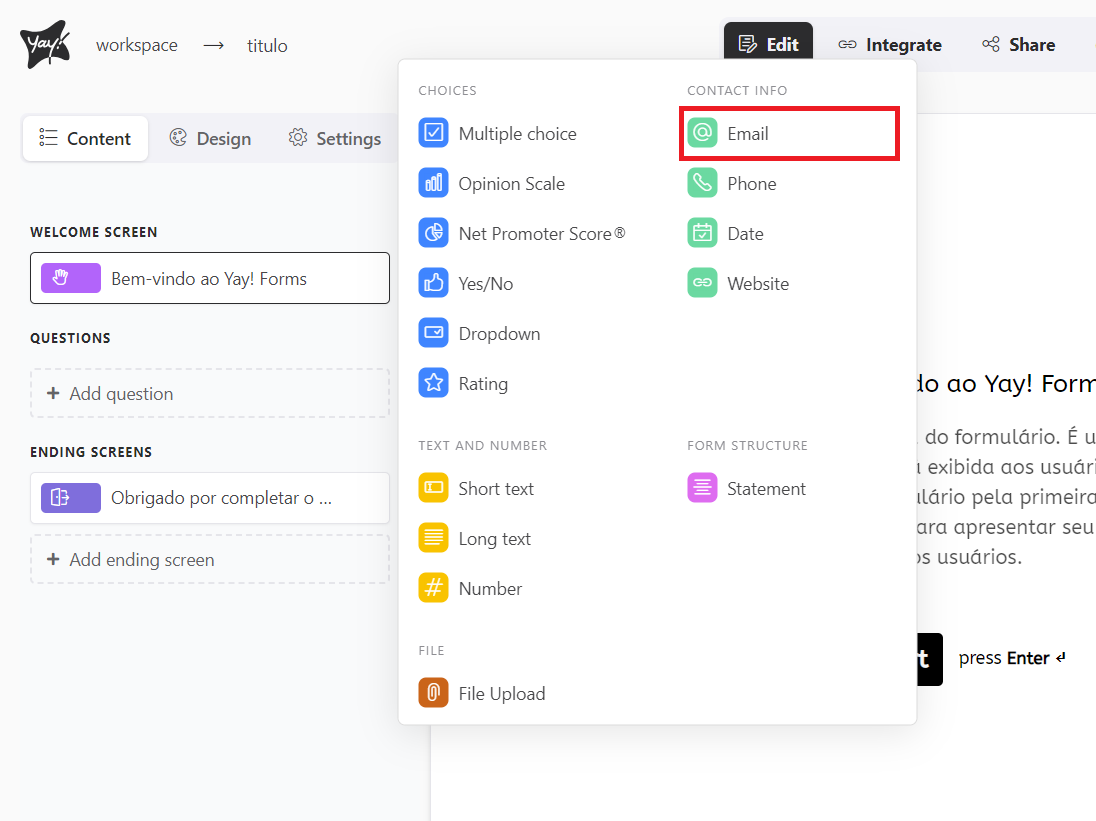
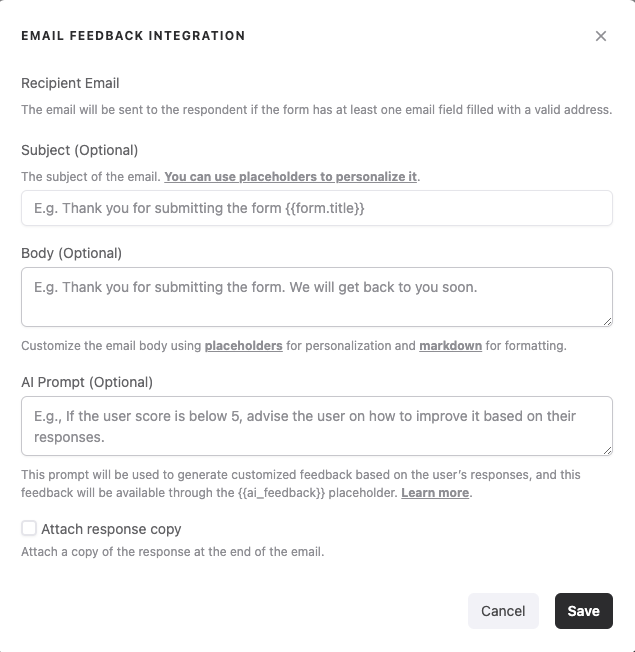
After that, just choose the email subject and body, and you’re done.
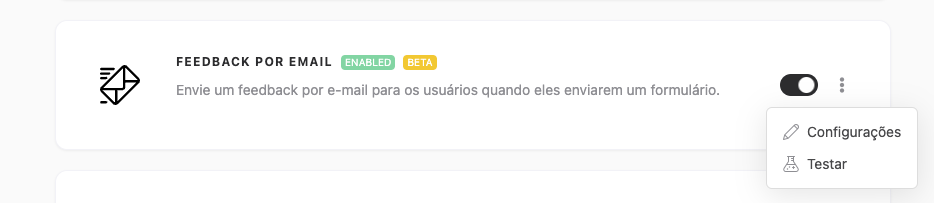
After configuring your integration, you can easily enable or disable it by clicking the button below. In addition, you can adjust the settings or test it by clicking the three dots.
Important Notes
- Fill Out the Form
For the test to be sent correctly, the form must have at least one valid response submitted.
- Data Sending
The test will send the data from the most recent valid submitted response.
- Sending Status
Please note that the test does not mark the response as sent in the specific integration being tested. This is only a procedure to verify the integration.
Using AI Feedback and the AI Prompt
The {{ai_feedback}} placeholder is a powerful tool that lets you include personalized, AI-generated feedback directly in your emails.
This feedback is created based on users’ responses to your form, providing an additional level of personalization and interactivity in communications.
To use this feature, first define the AI prompt in the AI Prompt field of your Email Feedback integration. This prompt should guide the AI on how to analyze the user’s responses and generate relevant feedback.
Example of Using the AI Prompt
You can set up a prompt that instructs the AI to offer improvement suggestions if the user’s score is below 5, based on their specific responses:
"If the user's score is below 5, provide suggestions on how they can improve, considering the answers provided in the form."
After configuring the AI Prompt field, insert the {{ai_feedback}} placeholder into the email body where you want the personalized feedback to appear. When the email is sent, the placeholder will be replaced with the AI-generated feedback, based on the instructions provided in the AI Prompt and the user’s responses.
Keep in mind that you can use other placeholders in your message. If you have any questions about how to use them, you can follow this explanation link:
You can also configure your SMTP account. To learn how to do this, just follow the tutorial at this link.
Conclusion
You learned how to enable and configure the Email Feedback integration in Yay! Forms, how the integration uses the first email-type field to send messages, how testing behaves, and how to enhance email personalization by inserting {{ai_feedback}} generated from an AI Prompt alongside other placeholders.