This article will help you add a Calendly field to your form, connect your Calendly URL, and optionally enable pre-fill for name, email, and custom questions so the scheduling experience is smoother for respondents.
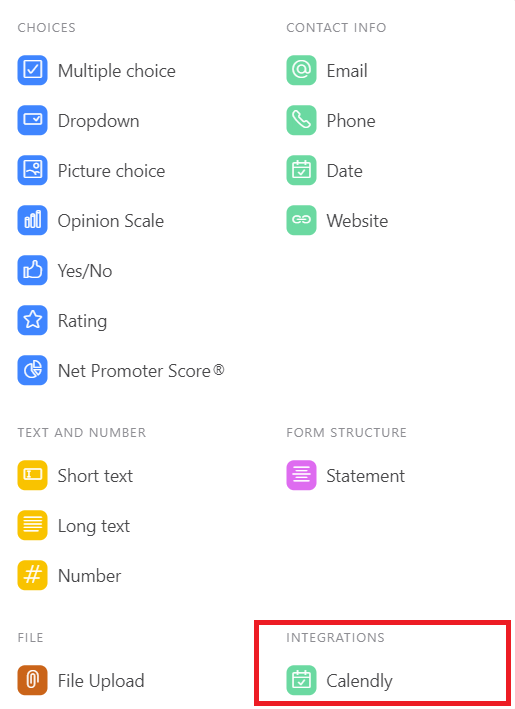
Creating a Calendly field
First, you need to create a Calendly-type field as shown in the image below:
Adding your Calendly URL
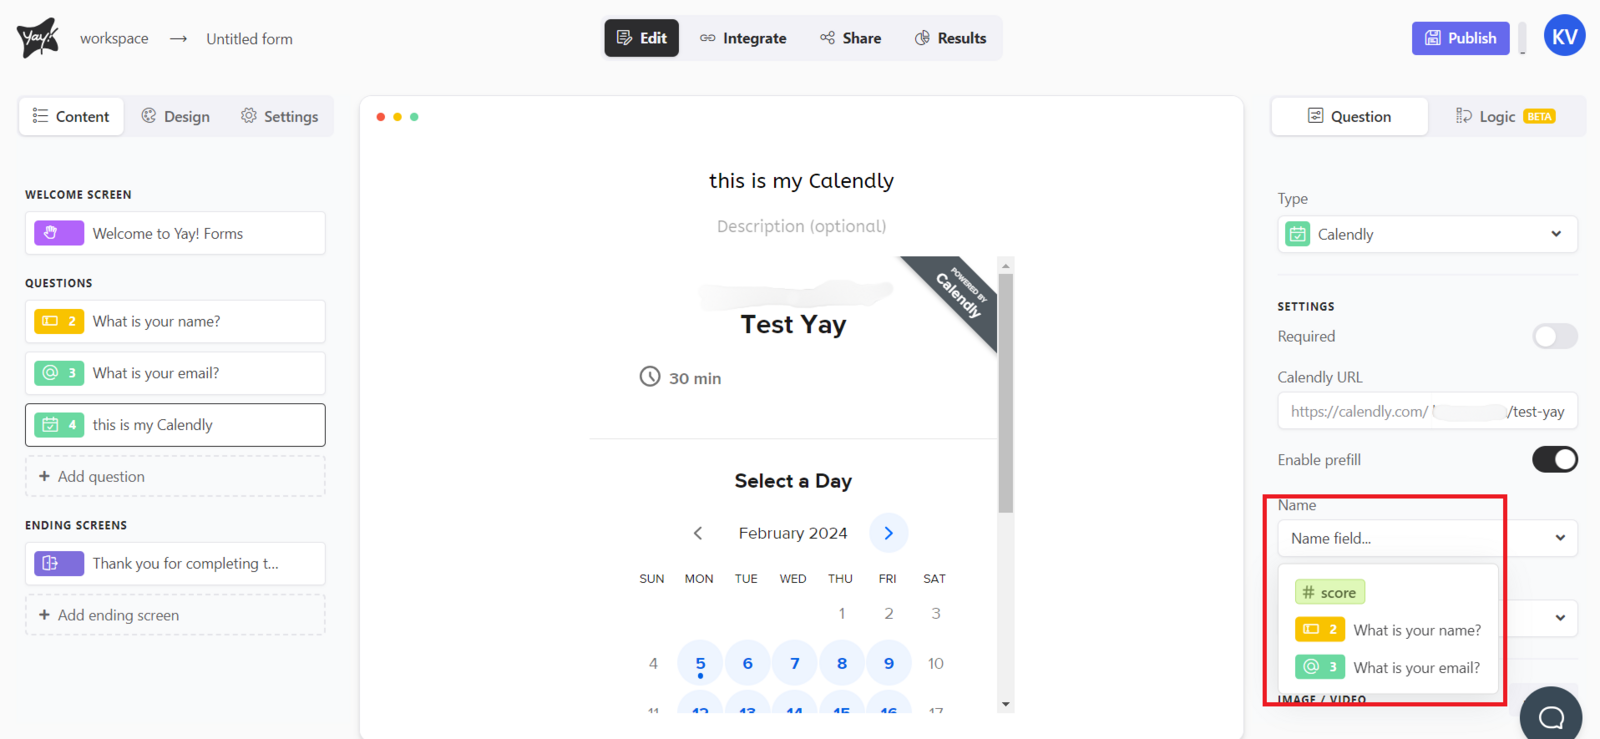
After that, you should enter your account/your calendar in the field on the right, labeled "Calendly Url". It will look something like this:

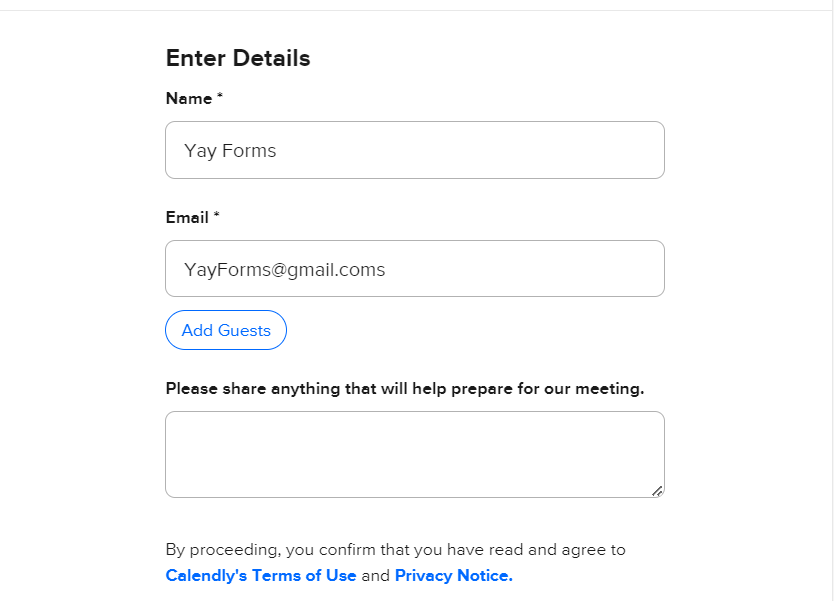
Calendly will look like this in your form:

Enabling pre-fill for name and email
If you want to add pre-fill for name and email, just click the button labeled "Enable pre-fill" and select the desired option:
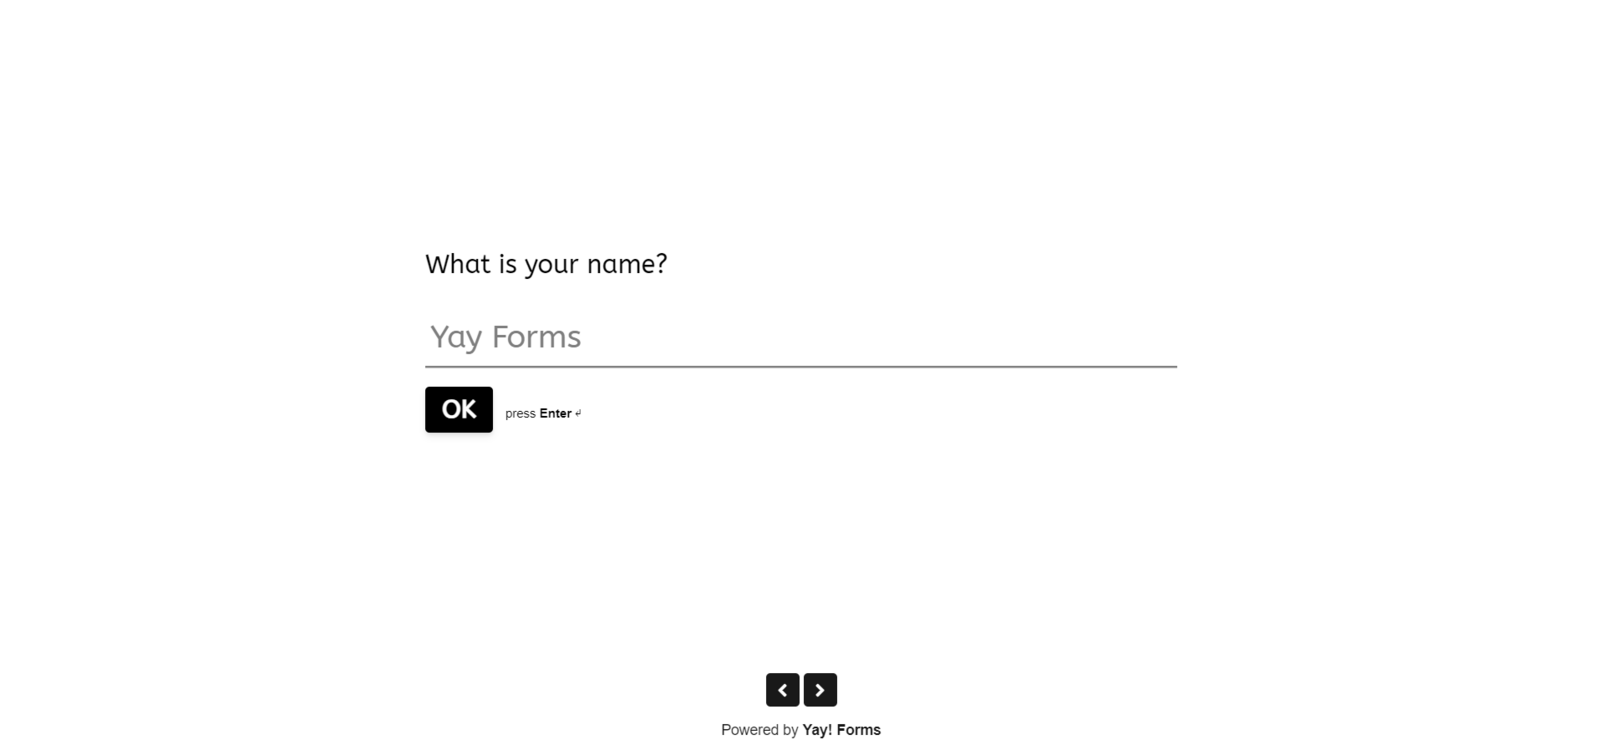
It will look like the example below:
Using pre-fill with custom questions
You can also use pre-fill in your Custom questions. With pre-fill, you can add up to 10 custom questions. Just click Add and select what you want to pre-fill with, as shown in the images below.


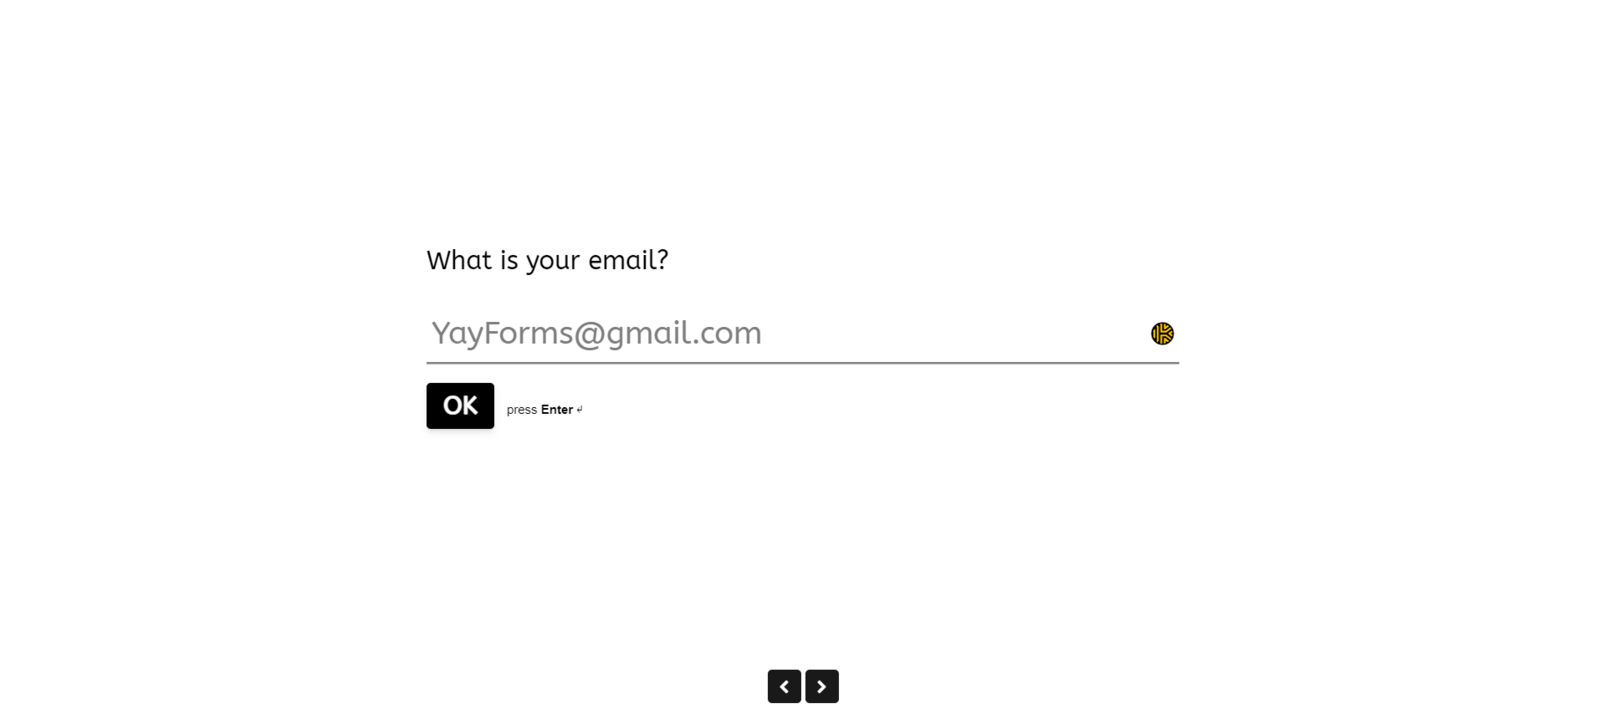
It will look like the example below:


Conclusion
You now know how to place a Calendly field in a form, link it to your Calendly URL so scheduling appears inside the form, and use pre-fill options (including custom questions) to streamline what respondents need to enter.