This article will help you diagnose common issues in your Make integration by checking your application logs and applying the appropriate fix based on the error you find.
View the Application Logs
The first step is to check your application logs to identify the issue and apply the solution below according to the identified cause. You can access detailed instructions on how to view the logs at the following link: Como visualizar os logs das suas integrações.
Error: There is no scenario listening for this webhook

Why does this happen?
This issue occurs because the Make integration was not previously initialized.
How to fix it?
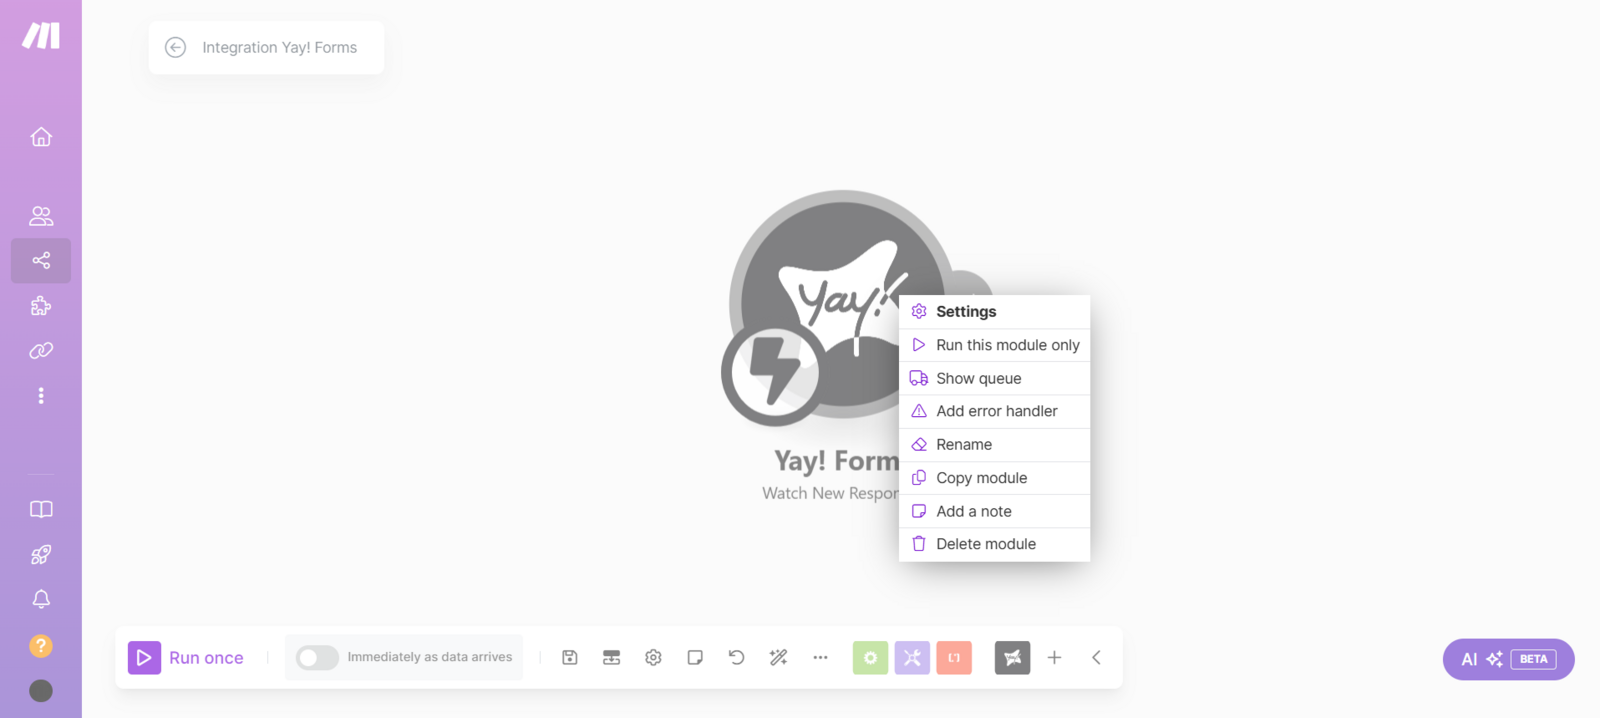
To activate the integration and resolve the issue, follow these steps:
- Right-click the corresponding module in Make.
- Select "Run this module only".
- Alternatively, you can click "Run once".
You also have the option to enable it by turning on Immediately as data arrives as shown below:
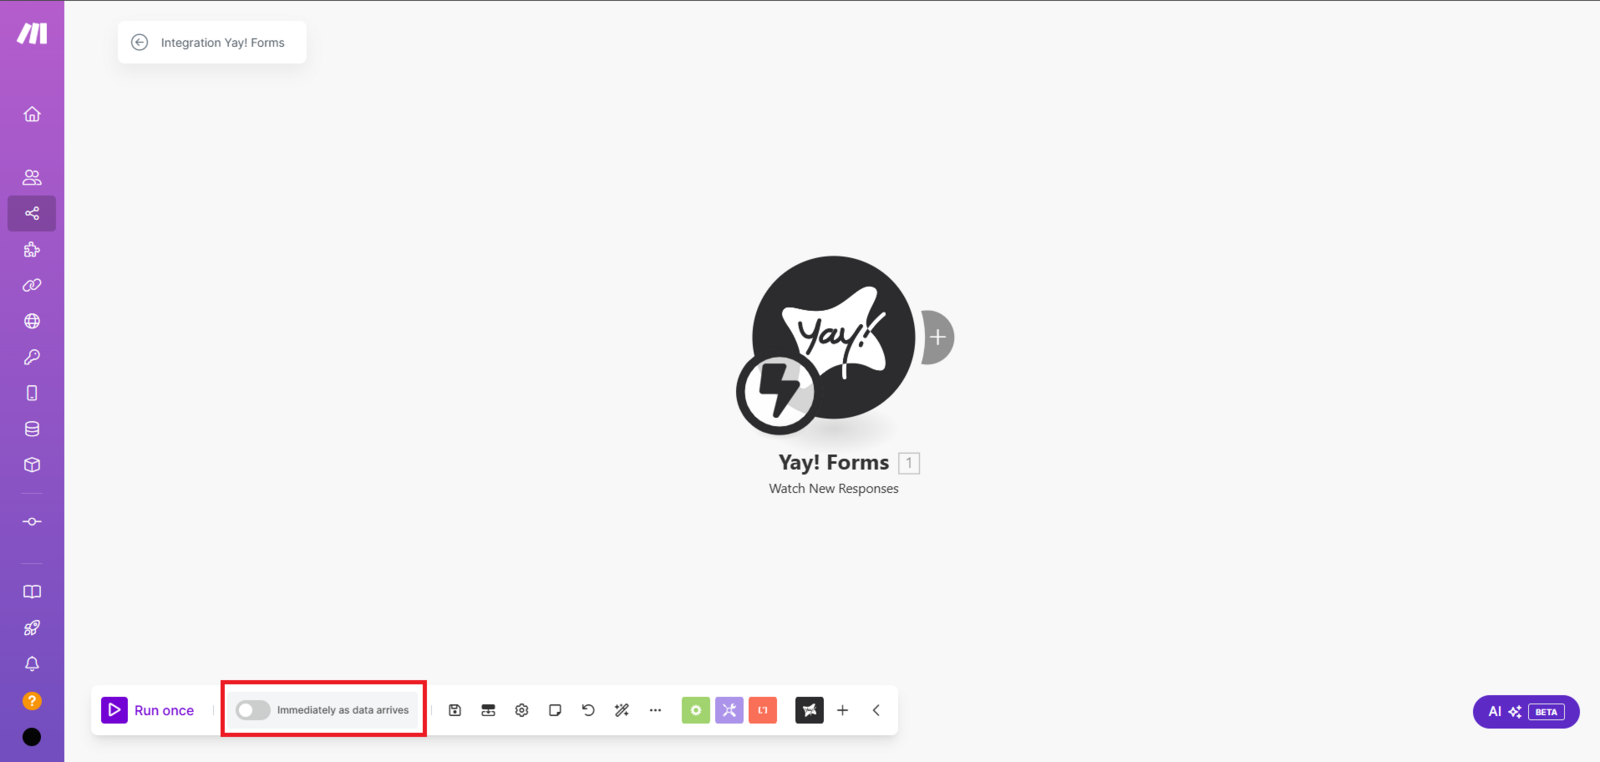
This should activate the integration and allow it to work properly.
Issue: Form fields do not appear in the destination module
Why does this happen?
Your form’s custom fields are not available in the destination module (e.g., Kommo) because the Yay! Forms module was not previously run to capture the complete data structure.
How to fix it?
To load all custom fields from your form:
- Right-click the Yay! Forms module.
- Select "Run this module only" or "Run once".
- Fill out and submit your form (this will feed Make with real data).
- Wait up to 1 minute for processing.
- Go back to the destination module — the form fields will now be available.
Important Note:
- Historical data from before the module was run will not be captured.
- Repeat the process whenever you make changes to the form structure.
- Make sure the form has had at least 1 submission after running the module.
⚠️ If the same error happens three times in a row, the integration will be automatically disabled for security reasons. In that situation, you will need to rebuild the integration from scratch.
By following these instructions, your Make integration should work without issues.
Conclusion
You learned how to use application logs to identify the cause of two common Make integration issues, how to initialize a scenario so it listens for incoming webhooks, and how to run the Yay! Forms module to populate destination modules with the full set of form fields.