This article will help you integrate Yay! Forms with WordPress by installing the plugin, configuring your form in the Yay! Forms tab, and generating a shortcode you can embed on your site.
Installing the Yay! Forms plugin
Follow the steps below to integrate Yay! Forms with WordPress:
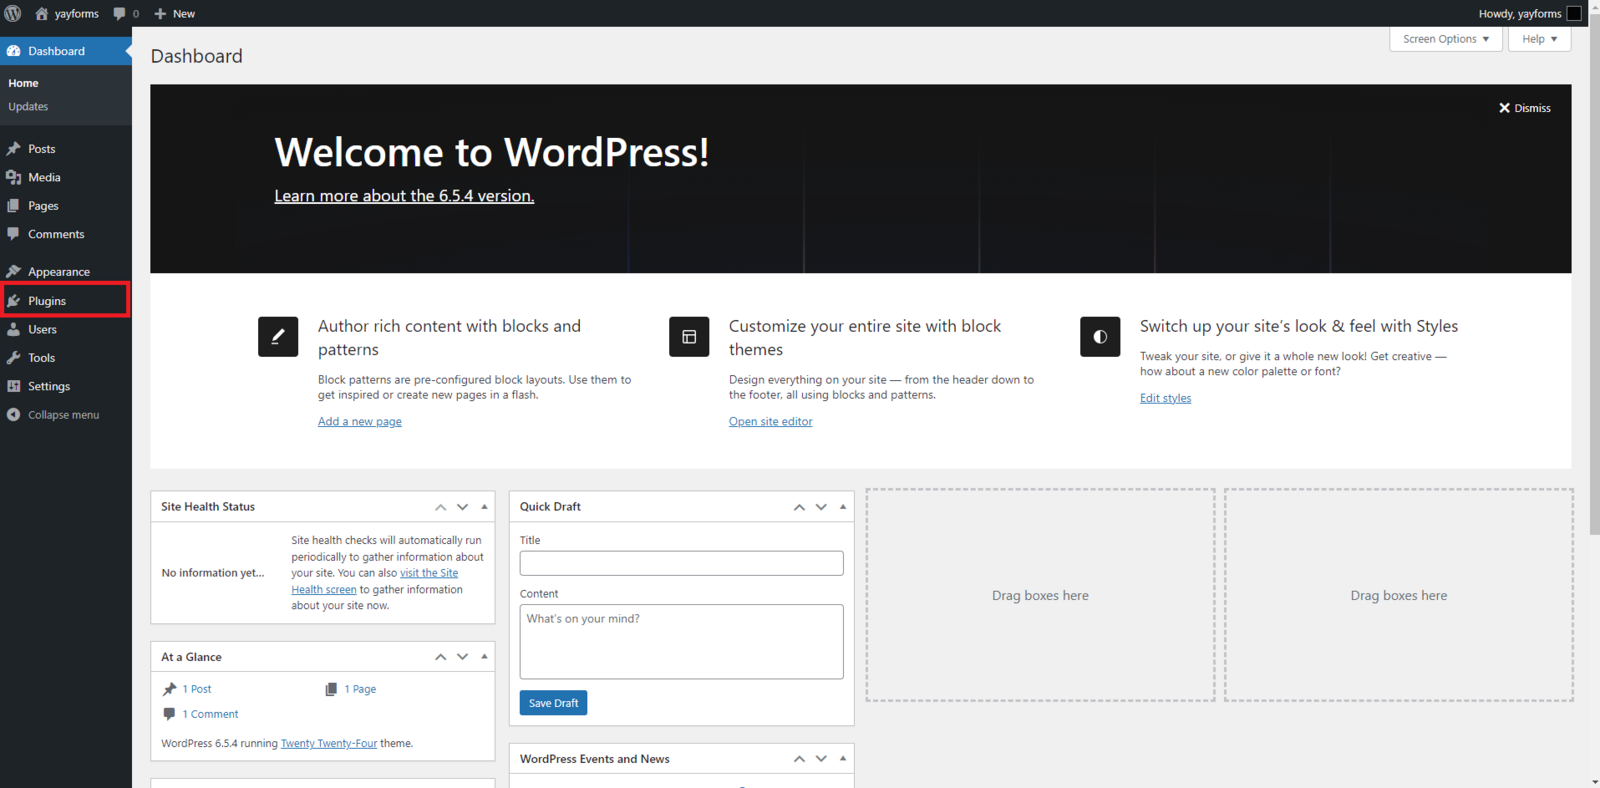
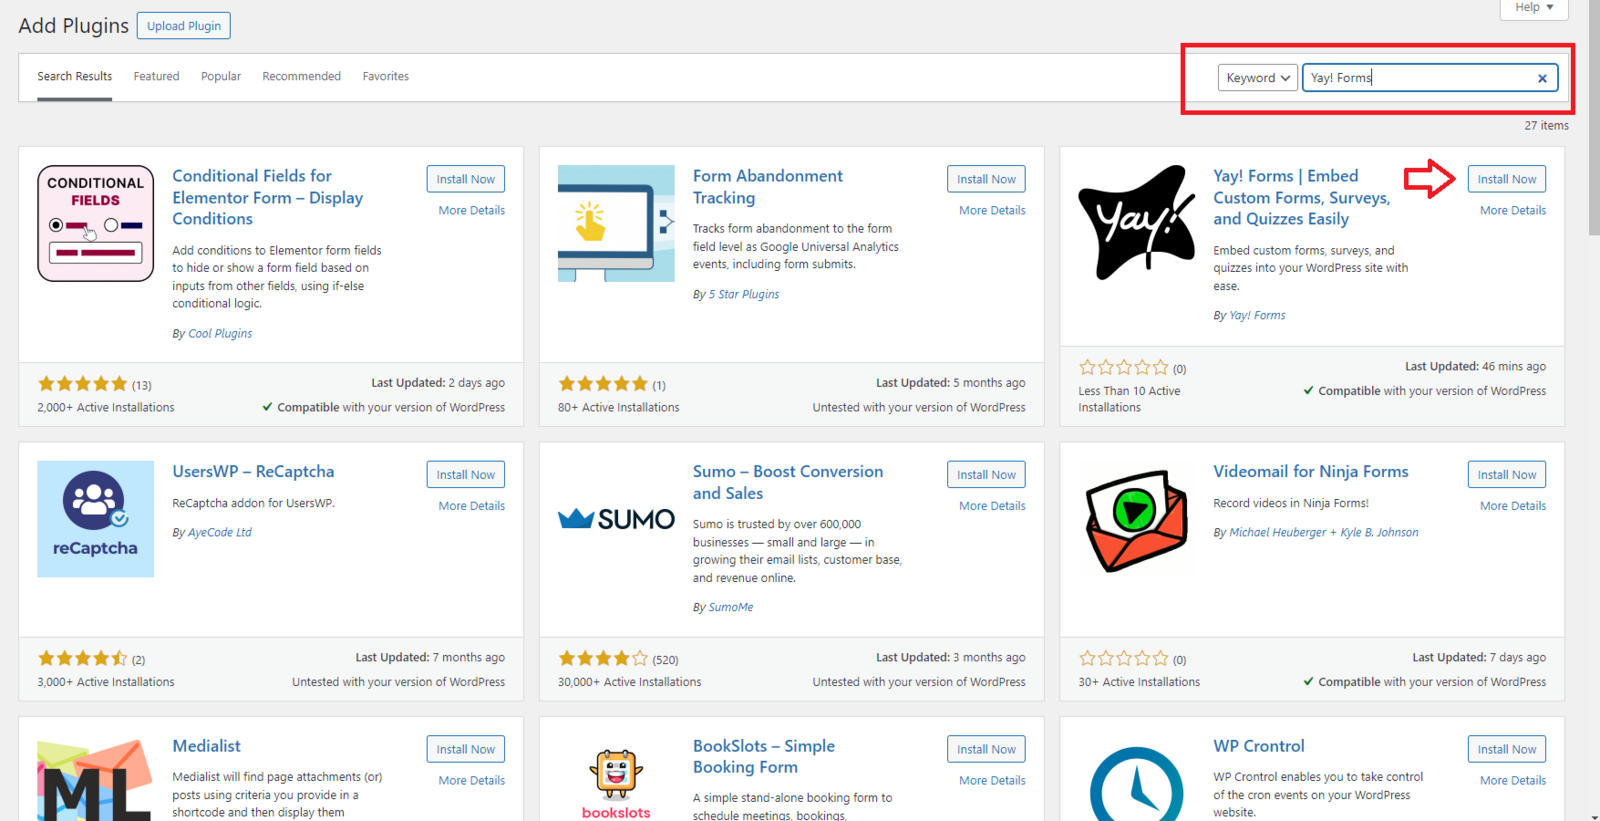
First, go to your WordPress dashboard. Click the "Plugins" tab and then "Add New Plugin". Next, in the search area, look for "Yay! Forms" and install the plugin.
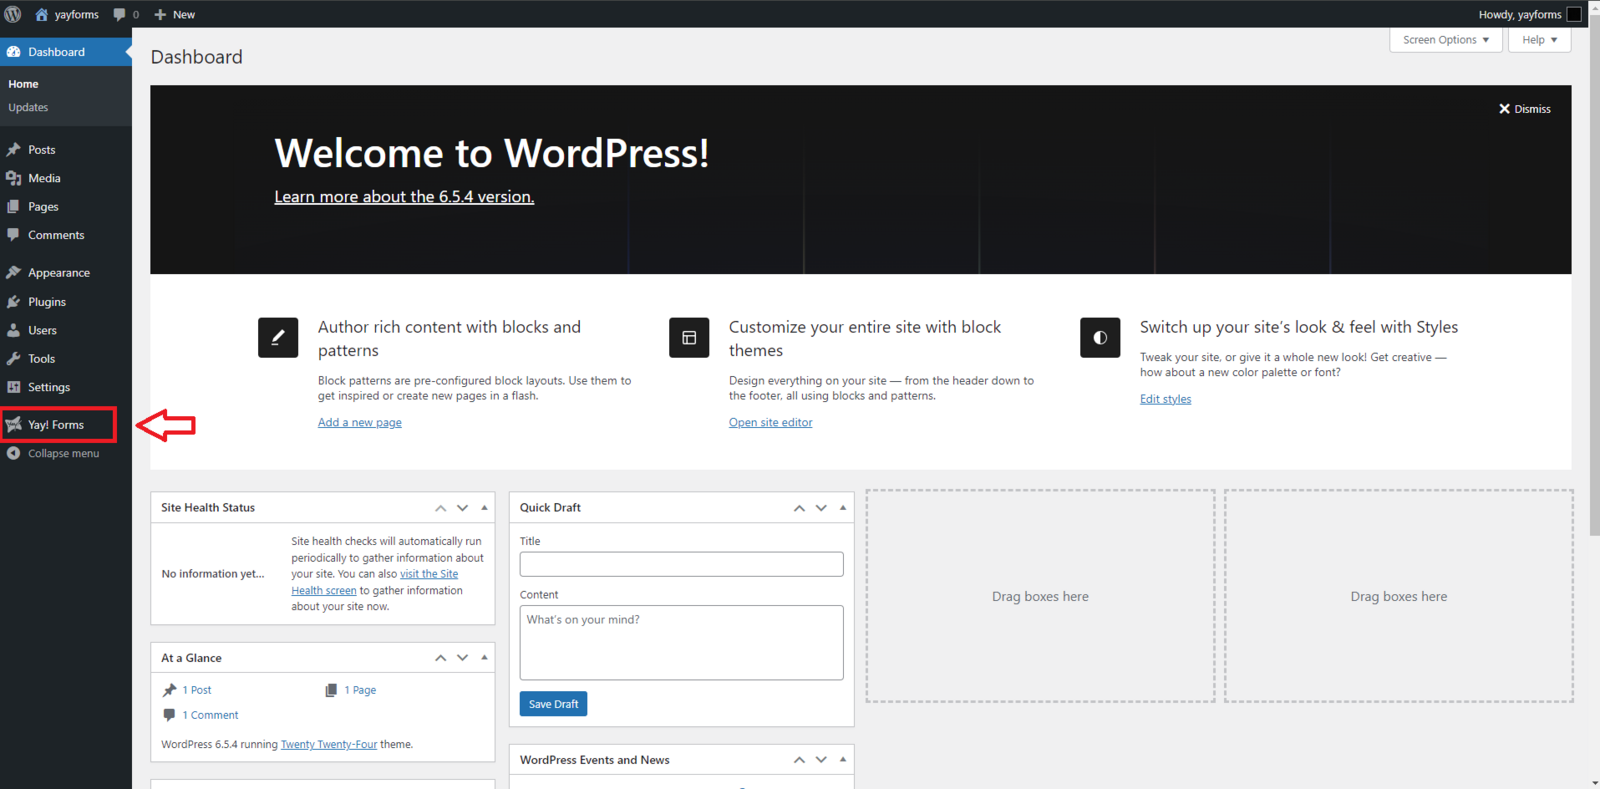
After the download is complete, click "Activate Plugin". You will notice that a Yay! Forms tab has been added to your taskbar.
Configuring your form and generating a shortcode
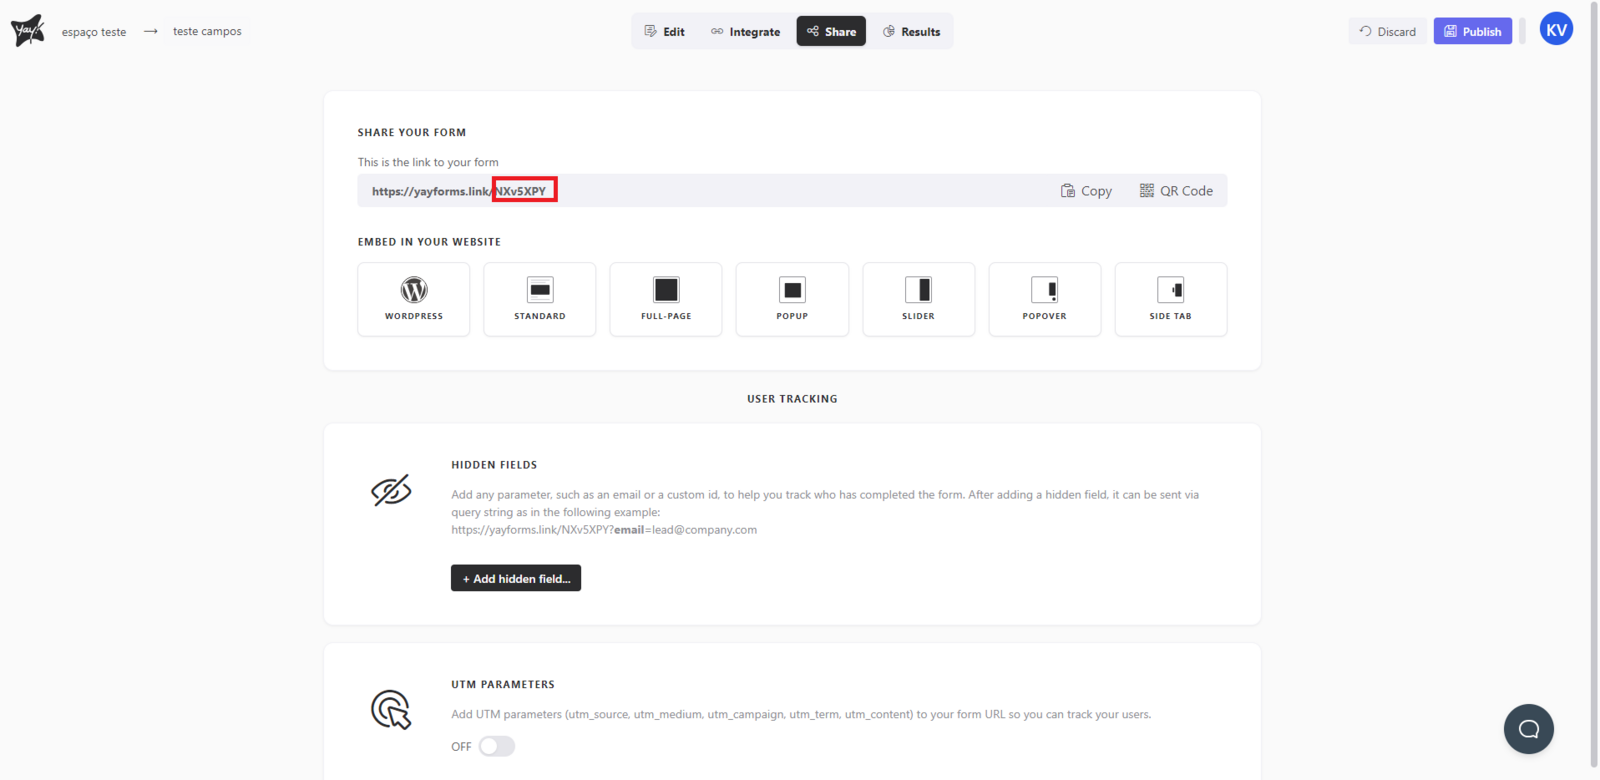
Click the Yay! Forms tab and you will be able to customize your form. There are several options for how you want to add the form to your site. Enter your form ID, which can be found in the "Share" tab, as shown below.
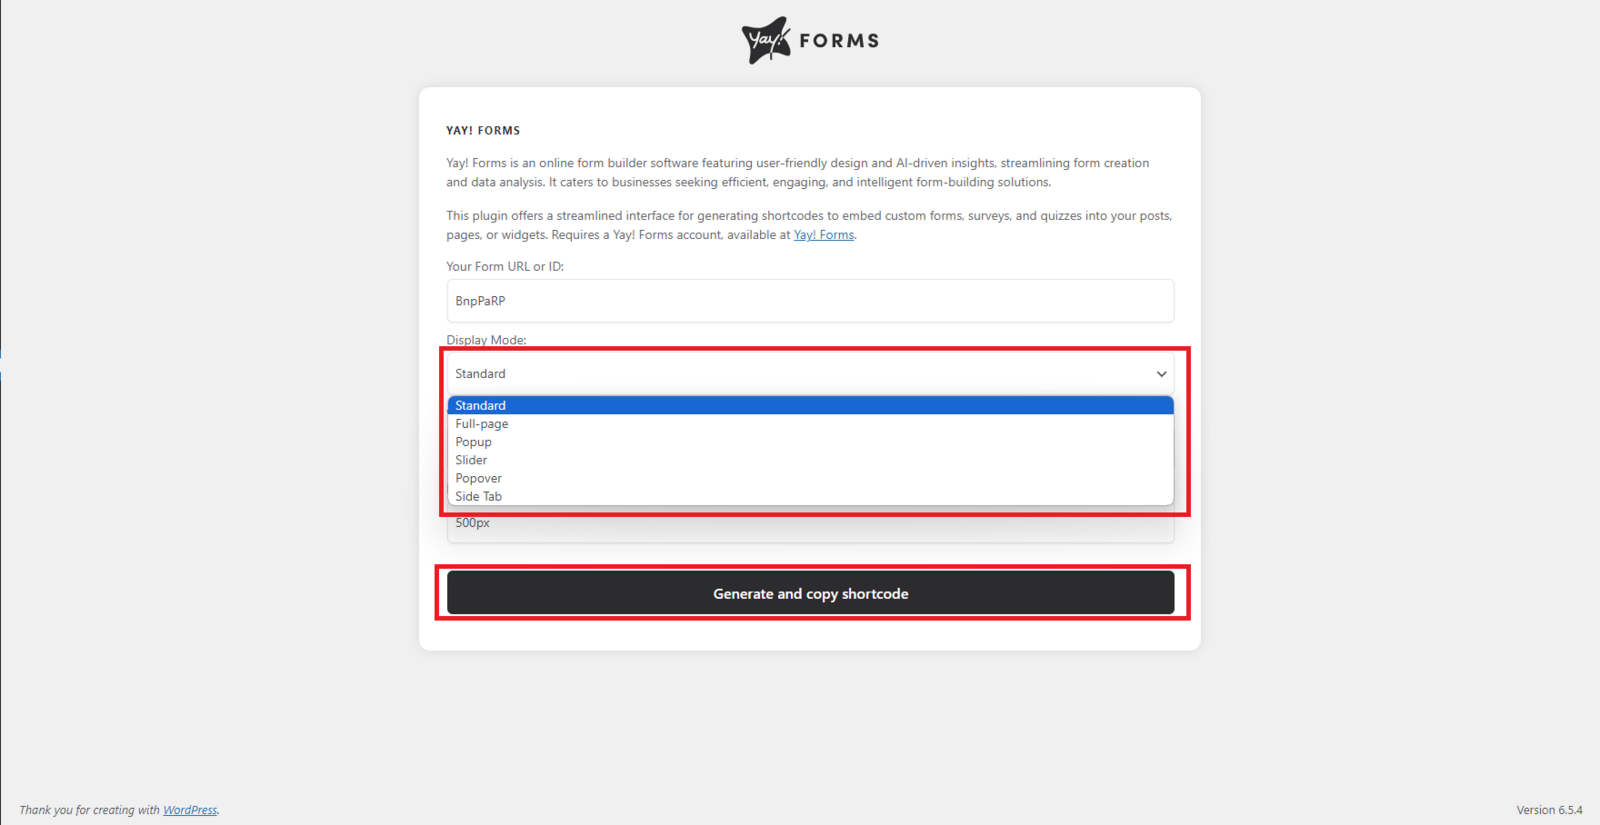
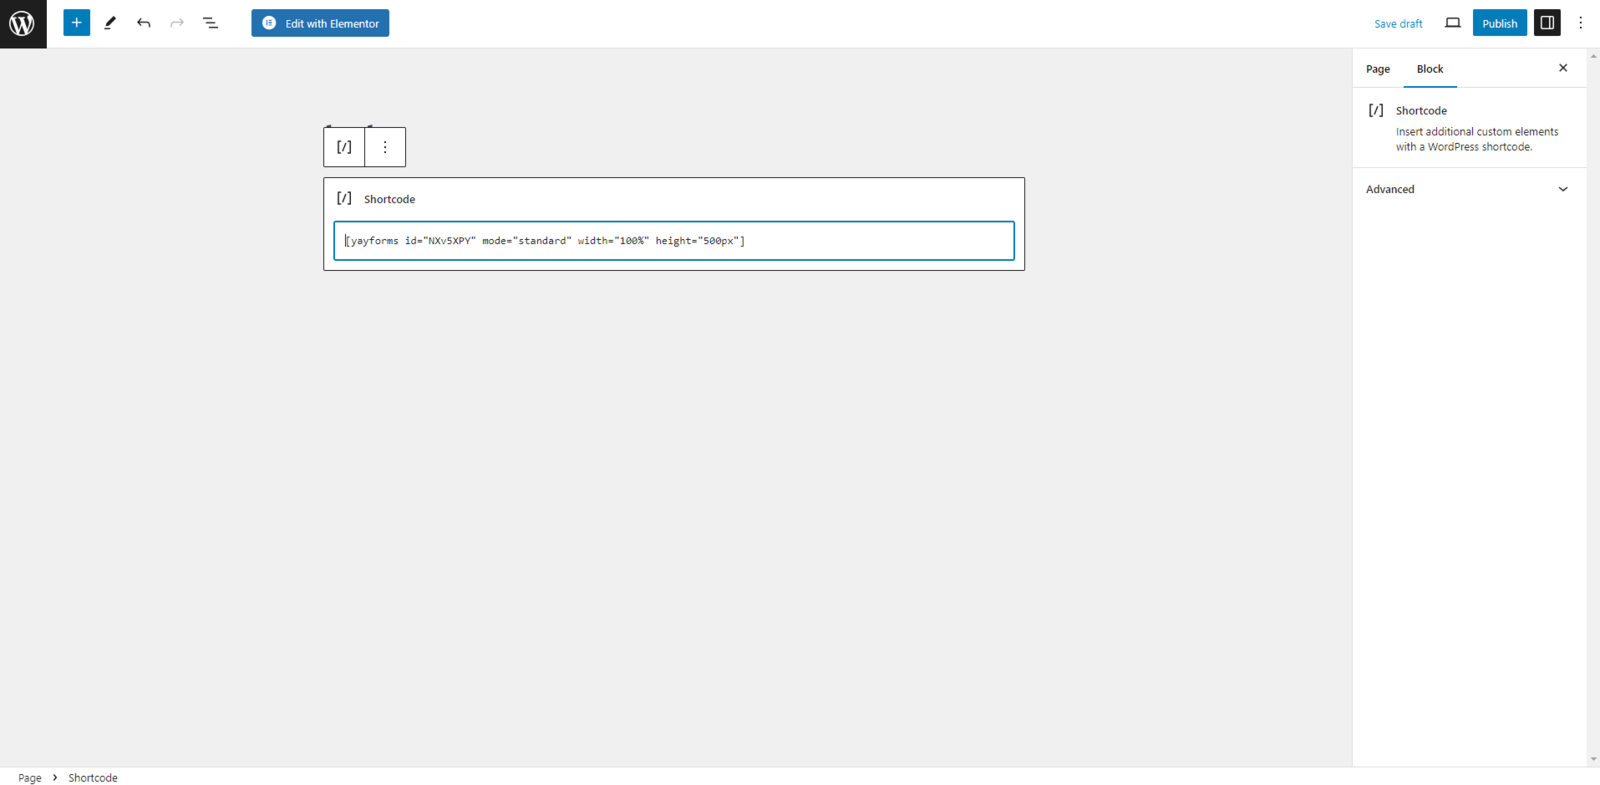
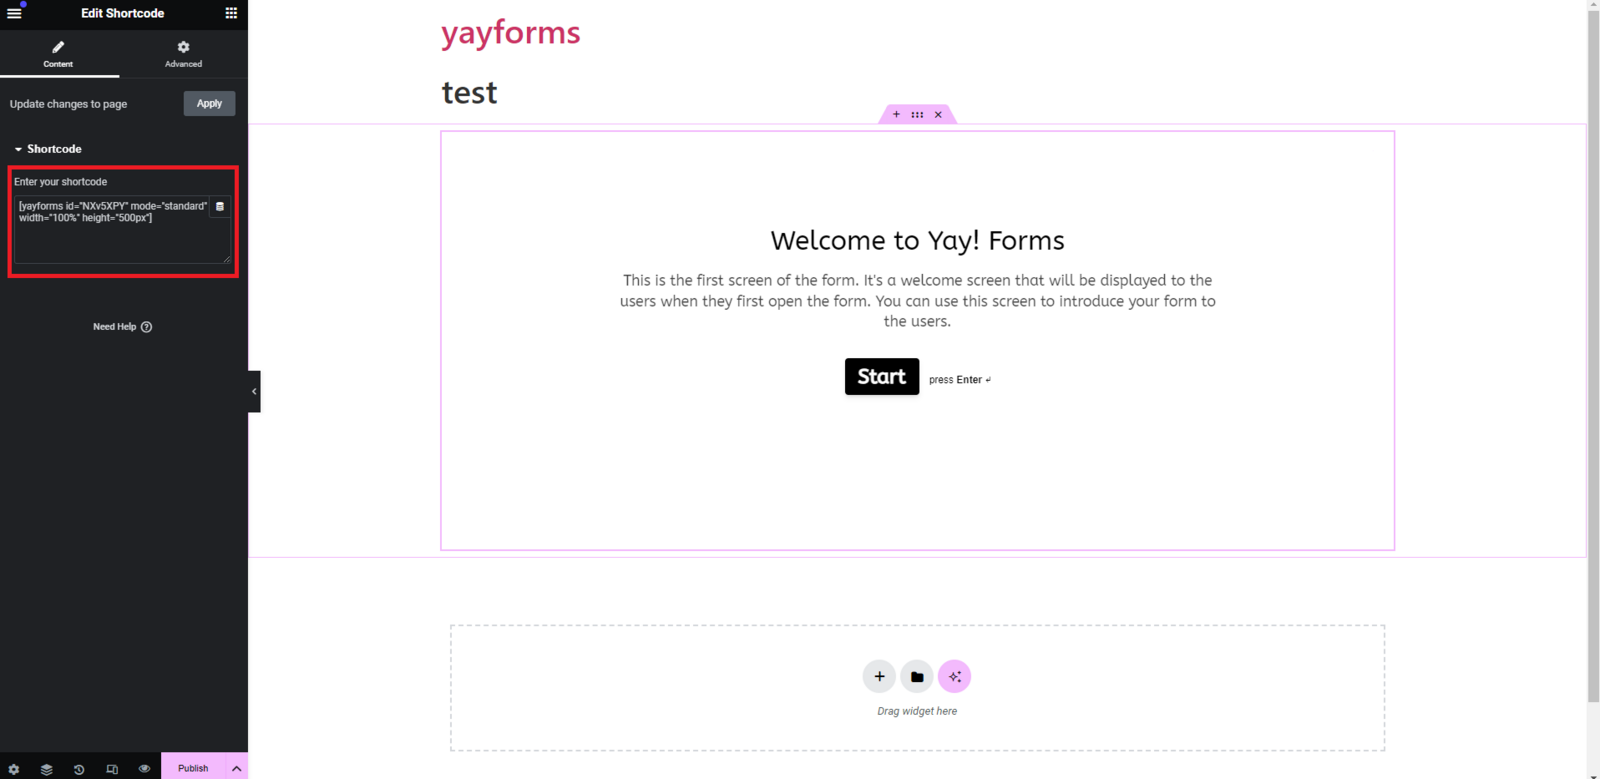
After configuring your form, click "Generate and copy ShortCode". Now you can paste this shortcode into any page you prefer. If you are using the Elementor plugin, you can also paste the shortcode there.
Support and feedback
We hope you enjoy the new integration :)
If you have any questions or suggestions, send an email to [email protected]
Conclusion
You learned how to install the Yay! Forms plugin in WordPress, locate your form ID, generate a shortcode, and embed your form into a page or within Elementor.